Why Prep Is the Real Job
Most homeowners plan for the painting itself - the color selection, the rollers, the weekend afternoon. What they underestimate is the work that happens before a single drop of paint touches the wall. Professional painters routinely spend as much time preparing a room as they do applying paint, and that ratio is exactly why their results look different.
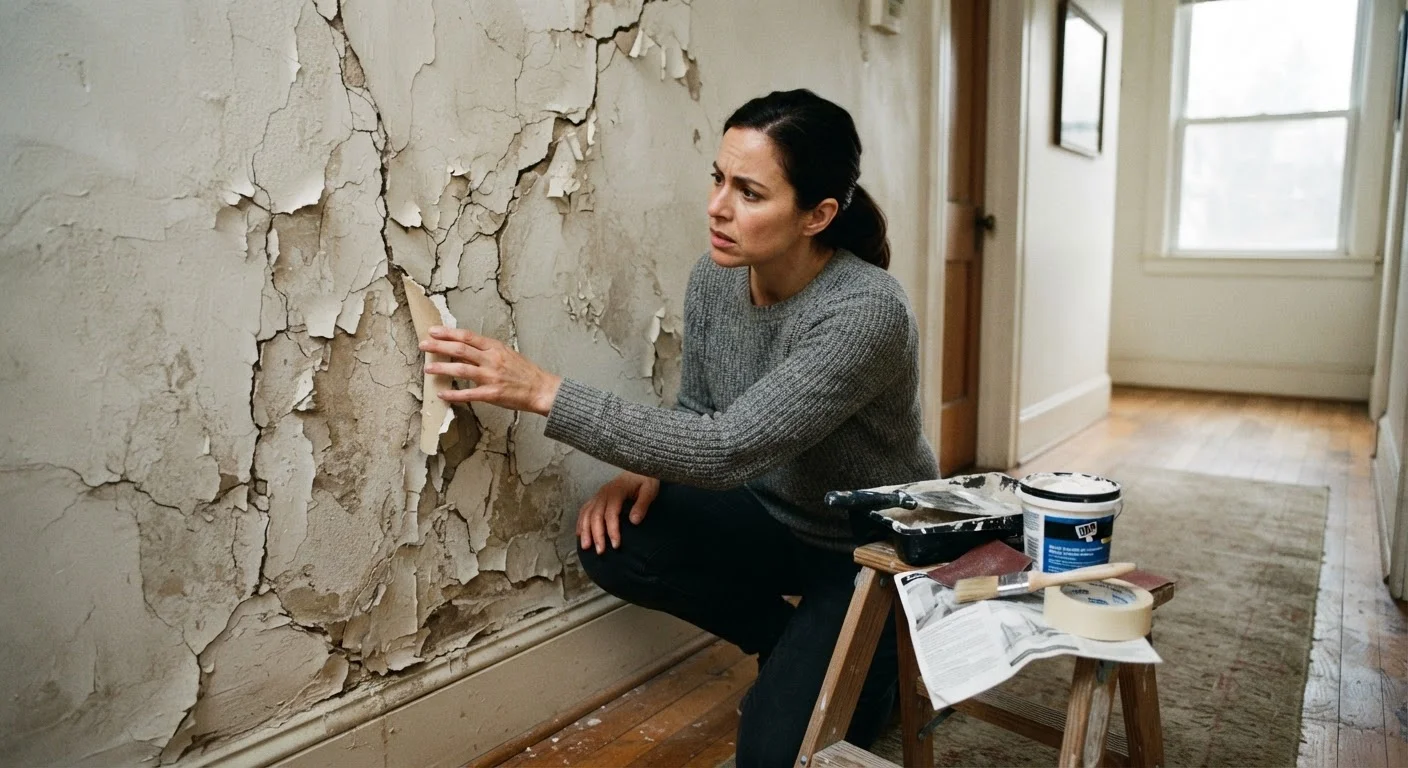
Paint is a surface finish. It can't hide problems underneath - it amplifies them. Bumps, grease, old tape residue, hairline cracks: these all telegraph right through even two coats of quality paint. The good news is that preparation isn't complicated. It just requires patience and a consistent sequence. Before you take on any painting project, it's also worth reviewing the broader pre-project checklist that applies across home improvement tasks.
Clean every wall surface before touching primer or paint
Dust, grease, and household grime prevent paint from bonding properly to the wall. Kitchen and bathroom walls in particular accumulate invisible film that causes paint to peel or slide during application. A clean surface ensures the paint has something to grip.
Fill every hole, crack, and dent before priming
Primer and paint will not conceal surface damage - they will shadow it, especially under raking light. Patching first ensures the wall is visually flat and that the finish coat reads as smooth.
Apply painter's tape with deliberate, firm pressure
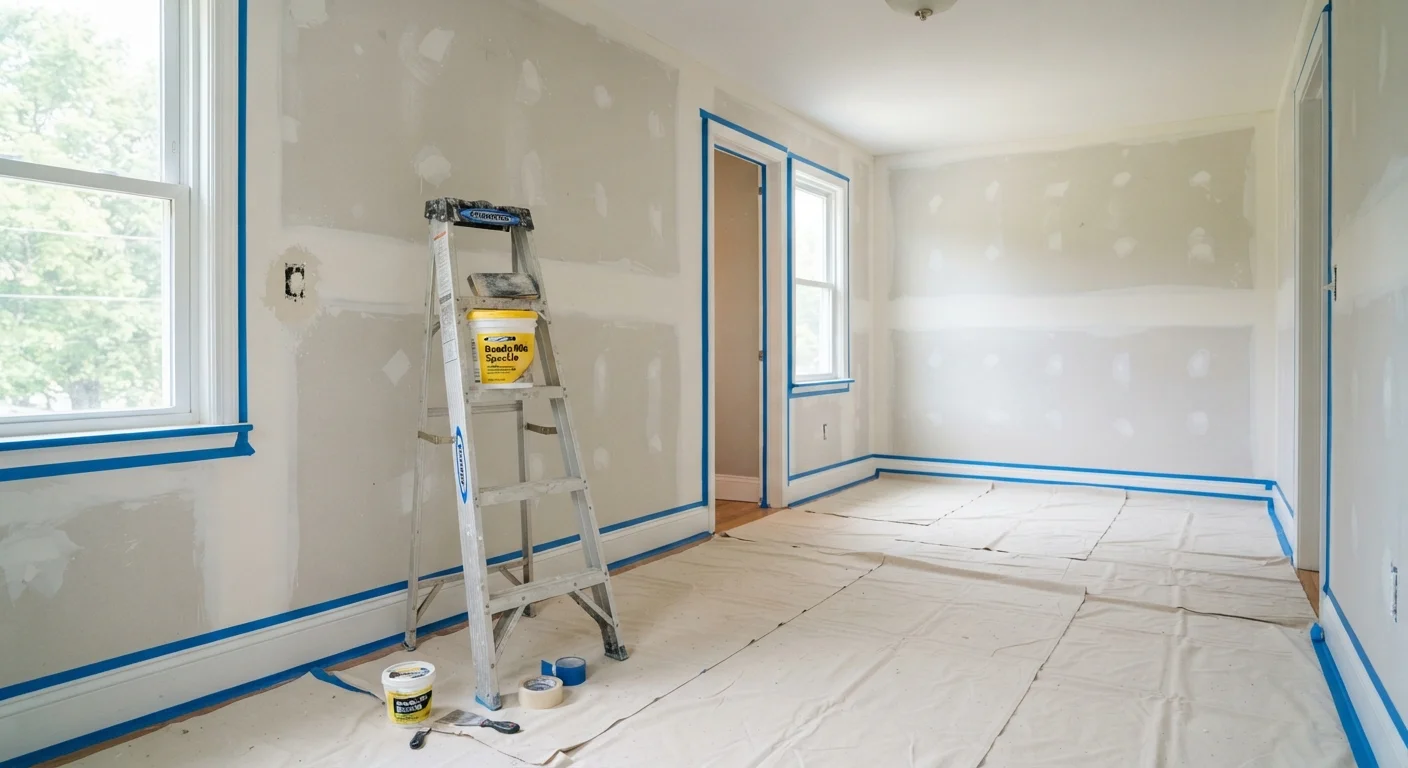
Loosely applied tape allows paint to bleed underneath, creating jagged lines at trim, ceilings, and outlets. Taking an extra minute to press the tape edge firmly - using a putty knife or even a credit card - makes a visible difference in the final line quality.
Use the correct primer for your specific wall condition
Not all primers are interchangeable. A standard drywall primer works well on new surfaces, but stained walls need a stain-blocking primer, and glossy surfaces require a bonding primer. Using the wrong type can mean your topcoat fails to adhere or discoloration bleeds through.
Cover floors and furniture completely - not partially
Paint spatters travel farther than most people expect, especially when cutting in at the ceiling or rolling at speed. A half-covered floor leads to time-consuming cleanup and potential permanent damage to flooring or furniture.
Step-by-Step: What Not to Skip
Each preparation step below serves a specific purpose. Skipping one doesn't just affect that step - it compounds through every stage that follows.
It's also worth noting that some of the most persistent DIY myths - like painting directly over a stain or skipping primer on a patched wall - show up most often in painting projects. Understanding why each step matters makes it much easier to stay the course when you're tempted to move faster.
A Note on Timing and Drying
One of the most common mistakes is treating prep steps as instant. Spackle and joint compound need adequate dry time before sanding - typically 24 hours for deep fills, though thinner applications may dry faster. Primer needs to cure before topcoat goes on. Rushing either stage can cause adhesion failures, bubbling, or a final surface that looks fine on day one but starts peeling within months.
When to Check for Permit or Safety Requirements
Most cosmetic painting projects in a home do not require permits. However, if your prep work uncovers anything concerning - such as suspected lead paint (common in homes built before 1978) or signs of mold behind walls - stop and consult a qualified professional before proceeding. Lead paint disturbed by sanding creates a health hazard that requires proper containment. Always verify local requirements with your municipality if you're unsure.
Think of prep time as an investment in the durability of your work. The same principle applies in other detail-oriented tasks - just as skin prep shapes how makeup performs, wall prep shapes how paint adheres and looks long-term.
80%
Paint failures attributed to surface prep
Industry estimates from professional painting trade associations suggest the majority of premature paint failures trace back to inadequate surface preparation rather than paint quality.
24 hrs
Minimum dry time for deep spackle fills
Manufacturers of standard lightweight spackle compounds typically recommend at least 24 hours of drying time for fills deeper than 1/4 inch before sanding and priming.