Why the Right Method Matters
Drywall is a forgiving material - it's designed to be cut, patched, and finished repeatedly. But choosing the wrong repair method for the hole size is the single most common reason patches remain visible after painting. A mesh patch applied to a hole that needs a backer board will flex and crack. Spackling over a 3-inch hole will shrink and fall out. Matching technique to damage type is the foundation of a repair that actually holds.
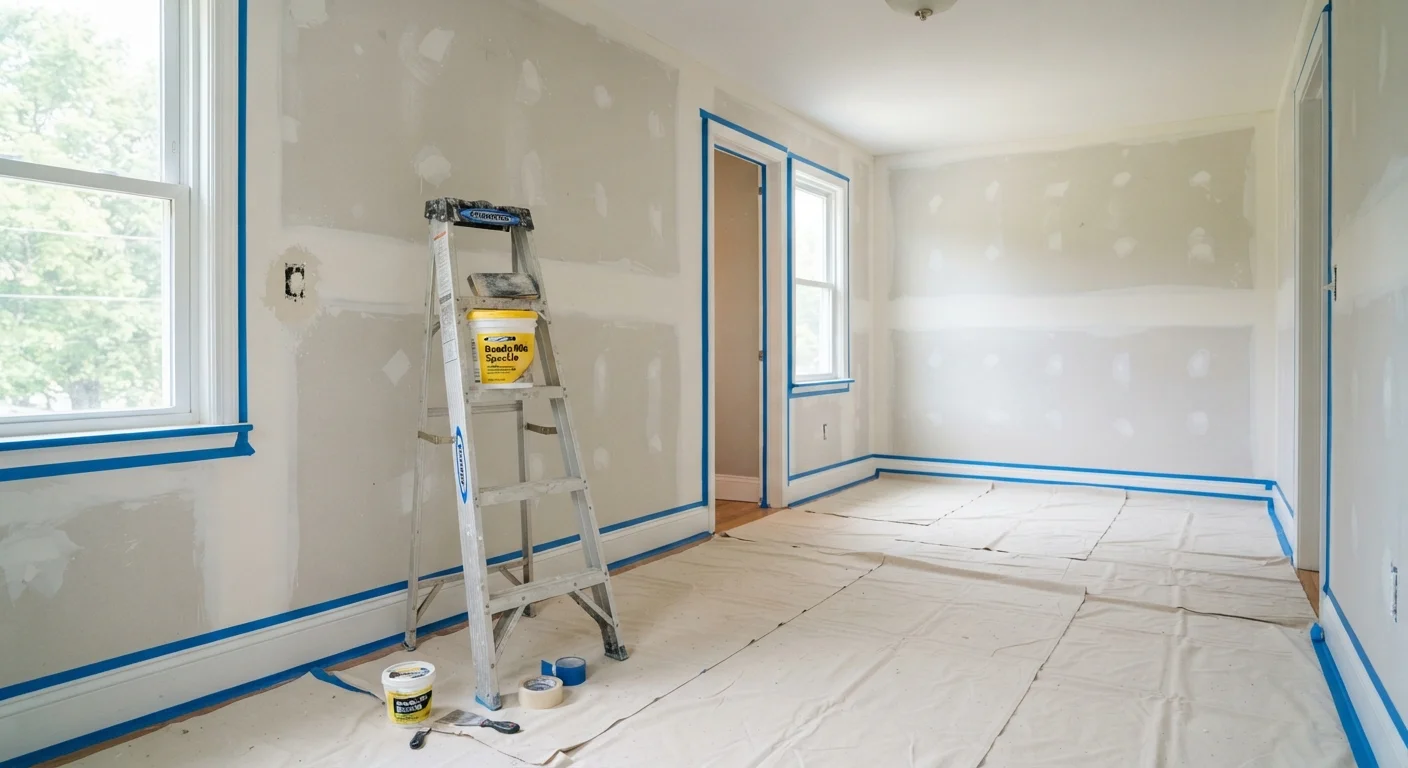
The good news: every common hole type has a well-established fix that a capable homeowner can complete in an afternoon. Once you've patched, you'll want to follow through to a clean paint finish - proper wall prep before painting is what separates a truly invisible repair from one that catches the light. It's also worth knowing that several DIY myths around wall repairs can lead homeowners toward fixes that fail quickly.
Check for Hidden Hazards First
Before cutting or drilling into any wall, verify that no electrical wiring or plumbing runs behind the damaged area. Use a stud finder with an AC detection mode or a dedicated wire detector. Cutting into a live wire is a serious safety risk and is not a DIY fix - if you're unsure, consult a licensed electrician or contractor before proceeding.
Before you start, gather everything you'll need:
Putty knife or drywall knife (4-6 inch)
Used to apply and feather joint compound over the patched area.
Self-adhesive mesh patch or California patch material
Provides structural backing for medium to large holes before compound is applied.
Pre-mixed joint compound (all-purpose)
The primary filler material used to build up and smooth the repair.
Drywall primer (PVA)
Seals the repaired area so paint adheres evenly without flashing.
Sandpaper (120-grit and 220-grit)
Used to sand between coats and achieve a smooth, feathered final surface.
Sanding sponge
Useful for blending curved or textured surfaces with less risk of over-sanding.
Stud finder with AC detection
Locates framing and detects electrical wires before cutting into the wall.
And confirm you meet these starting conditions:
What you will need
Step-by-Step Instructions
Follow these steps in order for a clean, lasting repair. Drying time is where most impatient repairs go wrong - build that time into your schedule before you begin.
Assess the hole and choose your method
Not all holes are created equal. Use these size categories to guide your approach:
- Nail holes and small dings (under ½ inch): Spackling compound applied with a finger or putty knife, sanded smooth once dry.
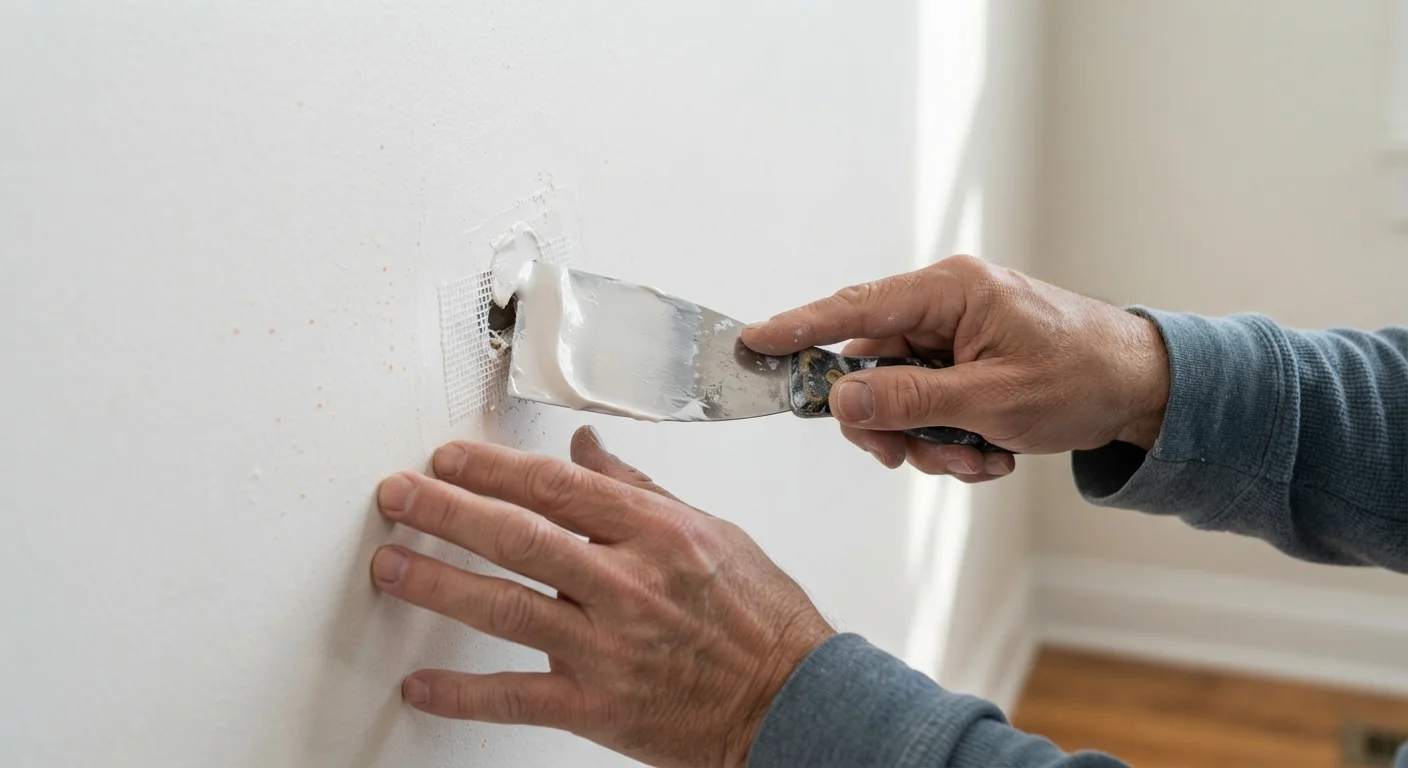
- Medium holes (½ inch to 4 inches): A self-adhesive mesh patch backed with two to three coats of joint compound.
- Large holes (4 inches and up): A California patch (using a cut piece of drywall with paper backing as a built-in brace) or a backer board method with screws.
Prepare the damaged area
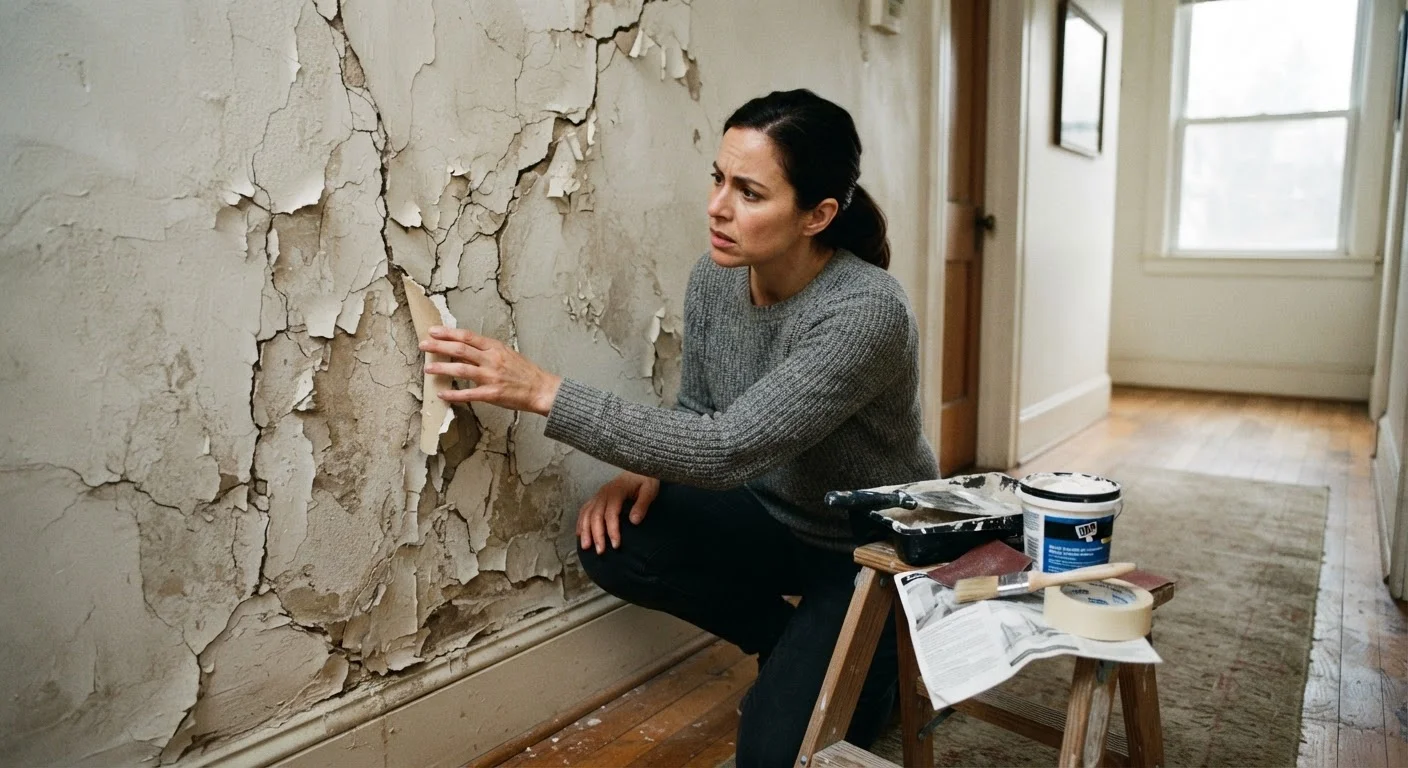
Remove any loose drywall, torn paper facing, or crumbling edges around the hole. Use a utility knife to score clean, straight edges if the damage is ragged. Dust the area with a dry cloth. For larger repairs, use your stud finder to locate nearby studs - knowing where they are helps you size and position backer boards accurately.
Apply the patch or backing
For small holes, apply spackling or joint compound directly. For medium holes, center the self-adhesive mesh patch over the opening and press firmly so it adheres flat to the surrounding wall. For large holes, cut the replacement drywall piece slightly smaller than the opening, retain the paper facing on two sides to act as a hinge, and set it in place, or screw a wooden backer board (1×3 or 1×4 pine) horizontally inside the hole and fasten a cut drywall patch to it with drywall screws.
Apply the first coat of joint compound
Load your drywall knife with a modest amount of pre-mixed all-purpose joint compound. Apply it over the patch using smooth, diagonal strokes, pressing compound firmly into the mesh or over the patched surface. Extend the compound 2-3 inches beyond the patch edges and feather it outward so there is no hard boundary line. For screw heads, apply a thin skim directly over each one.
Sand, re-coat, and finish
Allow the first coat to dry fully - typically several hours depending on humidity and coat thickness; the compound will turn from dark to a uniform light color when ready. Sand lightly with 120-grit sandpaper, then wipe away dust with a damp cloth. Apply a second thin coat, extending slightly further than the first. Once dry, sand again with 220-grit for a smooth finish. Feather the outer edges carefully so the patch blends flush with the surrounding wall.
Prime and paint the repaired area
Apply a coat of drywall or PVA primer to the entire repaired area and let it dry completely. This step seals the porous compound and ensures your topcoat applies evenly. Once primed, paint the wall using your matching wall color. For the most seamless result, paint an entire wall panel rather than spot-painting, which can reveal color or sheen differences even with a perfect patch.
Thin Coats Beat Thick Ones Every Time
Apply joint compound in multiple thin coats rather than one heavy application. Thick coats shrink significantly as they dry, leaving cracks and uneven surfaces that require additional sanding and re-coating. Two or three thin coats with light sanding between each will consistently produce a flatter, more invisible repair.
Don't Skip the Primer Step
Painting directly over joint compound without primer is one of the most common DIY mistakes. Joint compound is highly porous and will absorb paint unevenly, leaving a dull 'flashing' spot even after multiple paint coats. Always apply a drywall primer or PVA primer to the patched area before finishing with your wall color.
Once your repair is fully primed and painted, it should be indistinguishable from the surrounding wall. For other surface repairs around the home, understanding why grout cracks follows a similar logic - the cause matters as much as the fix. And if you're doing a broader refresh, sealing gaps with caulk pairs naturally with a fresh coat of paint on repaired walls.