Why Caulking Matters
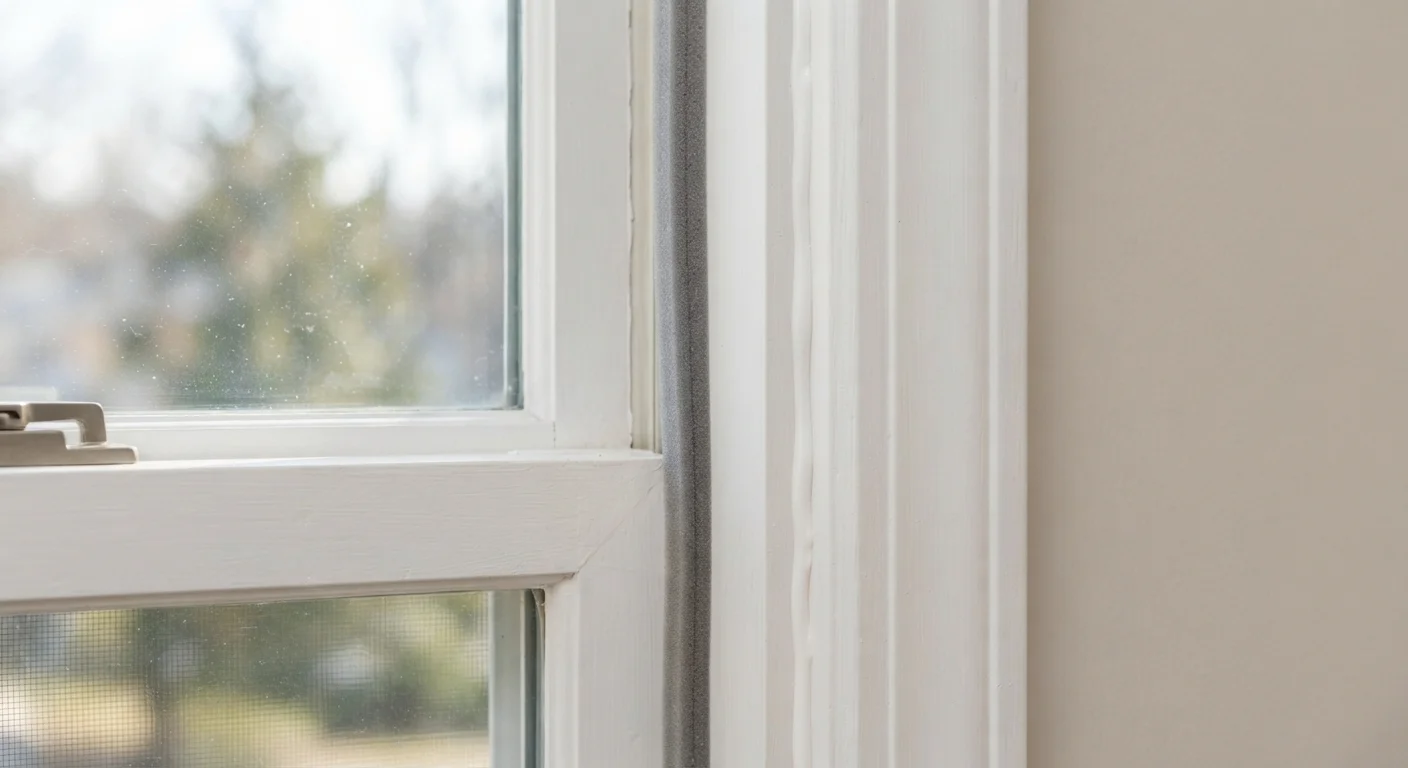
A gap the width of a coin around a window frame can let in as much outside air as leaving that window slightly open year-round. Caulking seals those small but costly openings - blocking drafts, keeping moisture out, and preventing the kind of slow water damage that only becomes obvious when it's already expensive. It's one of the most accessible home maintenance tasks a first-timer can tackle, and a single afternoon of work can make a noticeable difference in comfort and energy efficiency.
Caulk handles fixed, non-moving joints. If you're unsure whether a gap needs caulk or weatherstripping, our companion piece on choosing the right seal for each gap is a helpful starting point. For a broader pre-winter audit, see our weatherproofing walkthrough.
Choosing the Right Caulk for the Job
Bead
The continuous line of caulk laid into a joint or gap. A uniform bead is the goal of good application technique.
Cure time
The period after application during which caulk chemically sets and reaches its full strength and flexibility. Exposing caulk to water before it cures can ruin the seal.
Backer rod
A foam cylinder pressed into a gap before caulking to reduce the depth of the joint, saving caulk and improving the seal on wider openings.
Siliconized latex
A hybrid caulk that blends acrylic latex with silicone additives, offering better moisture resistance than plain latex while still being paintable.
Joint
The seam or gap where two surfaces meet - for example, where a window frame meets the surrounding wall, or where a tub meets the tile.
Picking the right caulk is more important than most beginners realize. The wrong formula can fail within months, no matter how cleanly it's applied.
- Silicone caulk: Best for wet areas - tubs, showers, sinks, and exterior window frames. It's waterproof, flexible, and long-lasting, but harder to smooth and cannot be painted.
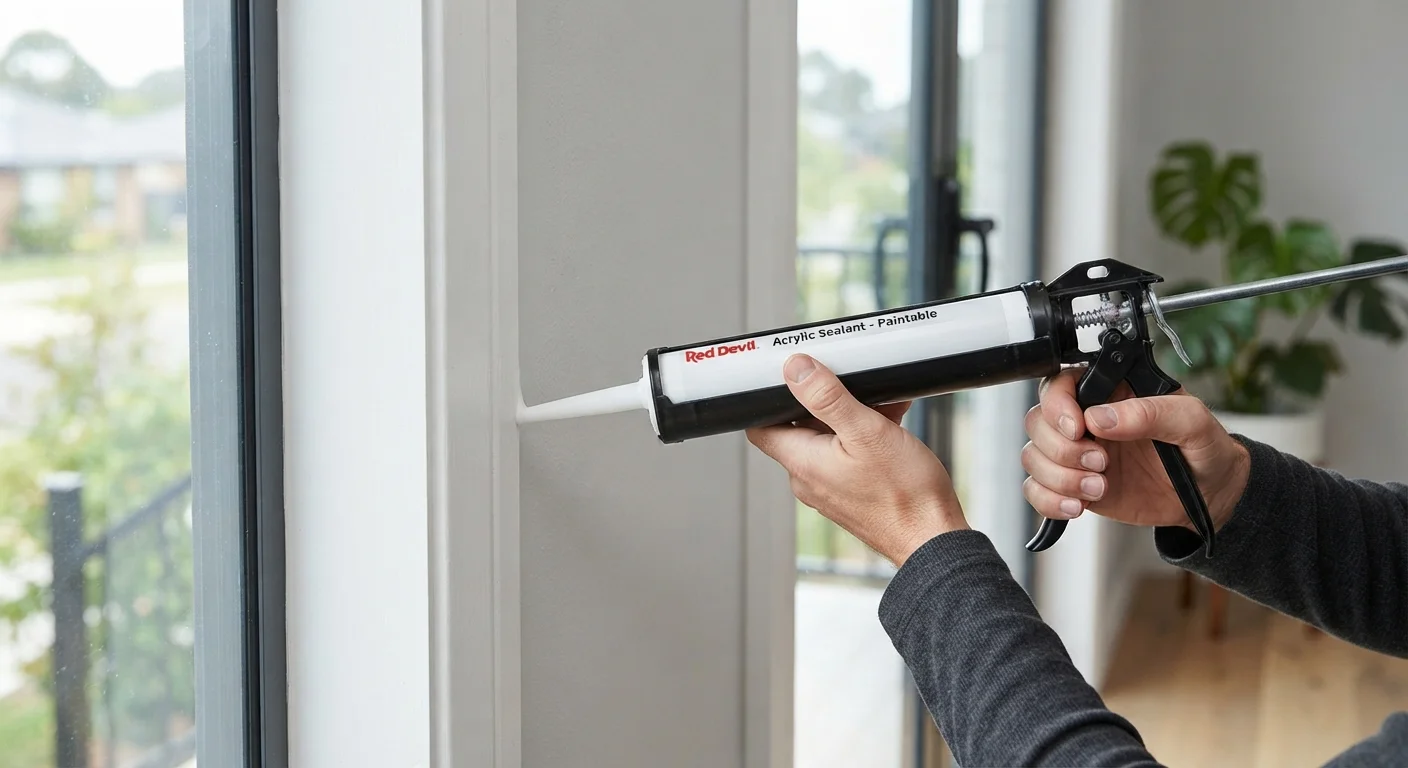
- Acrylic latex (painter's caulk): Ideal for interior trim, baseboards, and door casings where you'll be painting. It cleans up with water and accepts paint well, but it's less suited to continuous moisture.
- Siliconized latex (hybrid): A middle-ground option that offers better water resistance than plain latex while remaining paintable. A practical choice for bathroom trim and interior window frames.
- Specialty formulas: Some products are rated for masonry, gutters, or high-heat surfaces. Match the label to your specific surface before purchasing.
Check the product label for surface compatibility and maximum gap size. Most standard caulks are designed for gaps up to about 1/4 inch; larger openings may need a backer rod first.
Tools and Prep Work
You don't need many tools, but the ones you use matter:
- A caulk gun - a basic ratchet-style gun works well for most tubes
- A utility knife or oscillating tool for removing old caulk
- Painter's tape for clean edges
- A caulk tool or wetted finger for smoothing
- Rubbing alcohol or a mild cleaner for surface prep
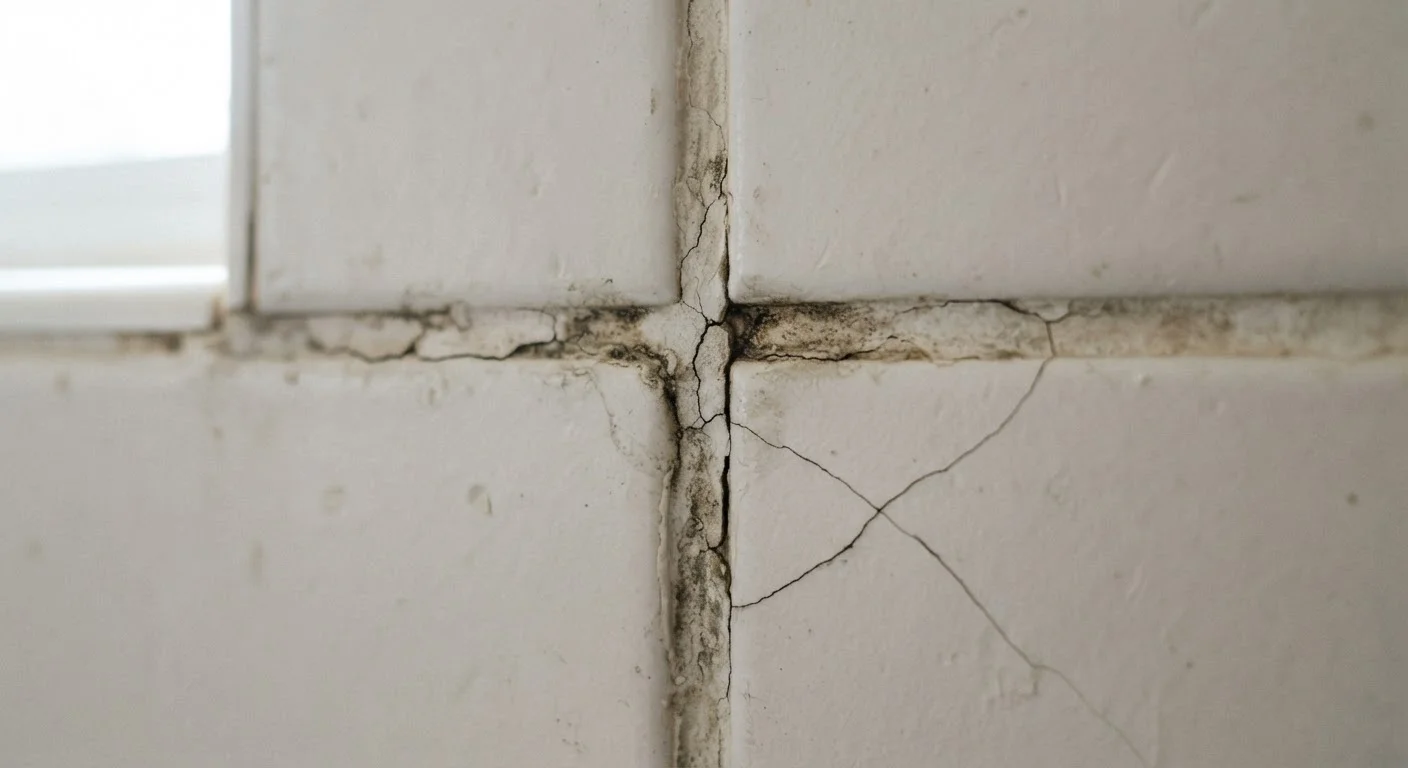
Surface preparation is where most DIY caulk jobs succeed or fail. Remove all old caulk completely - any residue will prevent the new bead from bonding. On tub surrounds, scrub away soap scum and mold with a bathroom cleaner, then wipe with rubbing alcohol. Let the surface dry fully; applying caulk to a damp joint is a common mistake that causes early peeling. Apply painter's tape along both sides of the gap for a sharper finished line, especially if you're a first-timer.
Don't Skip the Drying Step
Applying caulk to a wet or even slightly damp surface is one of the most common causes of premature failure. In bathrooms especially, run the exhaust fan and give the area at least a few hours - preferably overnight - to dry completely after cleaning. Any trapped moisture under the bead will cause it to lift or mold faster than expected.
Applying a Clean Bead
Cut the tip of the caulk tube at a 45-degree angle, starting with a small opening - you can always cut more, but you can't put tip back. Puncture the inner foil seal with the tool on the caulk gun or a long nail.
Hold the gun at a consistent 45-degree angle to the joint and pull it toward you (rather than pushing) as you squeeze the trigger steadily. Move at a pace that keeps the bead slightly ahead of the tip. A slow, even stroke produces a continuous, uniform line. Avoid stopping and restarting mid-joint; if you must pause, overlap your restart point slightly.
Practice on a Scrap Surface First
If you've never used a caulk gun before, run a practice bead on a piece of cardboard before touching your wall or tub surround. It takes just a minute and helps you calibrate your pace and pressure. The feel of a consistent squeeze becomes intuitive quickly, and your first real bead will look much cleaner for it.
Once the bead is laid, immediately smooth it with a wetted fingertip or caulk tool, using a single, continuous pass. Then carefully pull away the painter's tape at a 45-degree angle before the caulk begins to skin over - usually within a few minutes.
Finishing and Curing
Curing time varies by product and conditions. Most latex caulks are dry to the touch within an hour but need 24 hours before painting. Silicone caulks typically require 24 hours before water exposure - this is especially important for tubs and showers. Check the product label for the specific cure time; don't rush it.
Avoid exposing freshly caulked joints to temperature extremes or heavy moisture during the cure window. In bathrooms, leave the exhaust fan running and keep the area dry. Once cured, inspect the bead: it should feel firm, adhere flush on both sides, and show no gaps or bubbles. A small gap or bubble can be filled with a thin touch-up bead while the main seal is still somewhat pliable.
Plan to inspect all caulked joints annually. Catching a small crack early is far easier than dealing with water damage behind tile or a rotting window sill. For related maintenance know-how, our guide to common DIY myths is worth a read before you take on your next project.