
Why a Simple Three-Shade Technique Works for Everyone
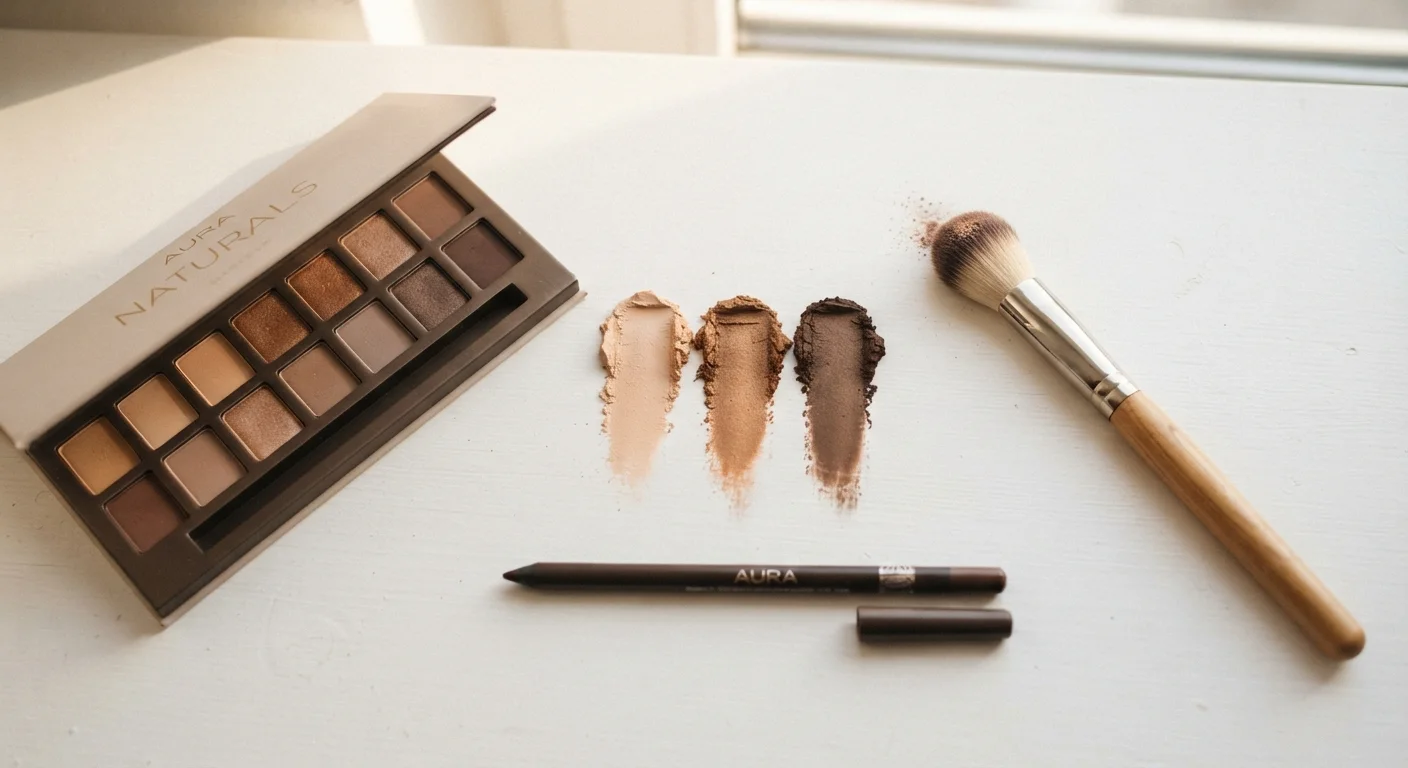
Eye makeup intimidates many people not because it's truly difficult, but because most tutorials skip directly to complex techniques without covering the underlying logic. The three-shade approach - light, medium, dark - mimics the natural way light and shadow fall on the eye socket, which is why it reads as polished without requiring artistic skill.
Light shades highlight and open the eye. A mid-tone grounds the lid with wearable color. A deeper shade adds definition in the crease, creating the illusion of depth. Blend those three shades into each other, and the result looks intentional regardless of your experience level. This same structure scales up to dramatic looks simply by choosing deeper or more pigmented shades.
Before getting started, make sure your eye area is fully prepped. If you're building a full morning routine, our guide to a simple morning skincare routine covers the steps that set your skin up for better makeup wear. And if you want to understand which tools belong in your kit beyond this look, building a minimal makeup kit walks through the essentials.
What you will need
For tool reference before you dive in:
Flat Shader Brush
Packs eyeshadow onto the lid with precision before blending.
Fluffy Blending Brush
Diffuses shadow edges using circular buffing motions for a seamless finish.
Pencil or Gel Eyeliner
Defines the lash line; pencil formulas are easiest to smudge and correct for beginners.
Eye Primer or Concealer
Creates a neutral, slightly tacky base so shadow adheres and lasts without creasing.
Small Smudge Brush
Softens liner after application to create a lived-in, smoke-diffused edge.
Mascara
Finishes and lifts the look by coating lashes after shadow and liner are set.
Step-by-Step: Building Your Everyday Eye Look
The steps below move in a logical sequence - base, shadow, liner, mascara - so each layer sets before the next is applied. Read through the full sequence once before starting; knowing where you're headed helps you avoid over-applying any single step.
Prep the Lid with Primer or Concealer
Pat a thin layer of eye primer - or a small amount of your regular concealer - across the entire movable lid from lash line to brow bone. This step neutralizes discoloration, gives shadow pigment something to grip, and dramatically extends wear. Blend lightly with your fingertip until it disappears.
Apply a Light Highlight Shade to the Brow Bone and Inner Corner
Using your flat shader brush or fingertip, sweep your lightest shade - a sheer cream, ivory, or soft champagne - just below the brow arch and into the inner corner of the eye. This opens up the eye area and creates the foundation for your other shades to blend into.
Pack a Mid-Tone Shadow Across the Lid
Switch to your flat shader brush and press your medium shade - a taupe, warm brown, dusty rose, or soft grey - directly onto the lid from lash line to just above the crease. Use a gentle pressing motion rather than sweeping to build pigment density without spreading the color too far.
Define the Crease with a Deeper Shade
Pick up a small amount of your darkest shade on the fluffy blending brush and place it in the crease - the natural fold above your lid when your eye is open. Use small circular or windshield-wiper motions to work the color back and forth, concentrating the depth at the outer third of the eye for a lifted effect.
Blend Until No Hard Lines Remain
With a clean fluffy brush, go over the transitions between all three shades using light circular buffing motions. Hold the brush loosely near the end of the handle to avoid over-pressing. Step back from the mirror periodically - you're looking for smooth gradations, not distinct stripes of color.
Apply Eyeliner Along the Upper Lash Line
With a pencil or gel liner, draw small dashes or dots along the upper lash line as close to the root of your lashes as possible, then connect them. Working in sections - inner third, middle third, outer third - gives you more control than trying to draw one continuous stroke. For a softer look, press a small smudge brush or your fingertip over the line to diffuse it slightly.
Finish with Mascara
Starting at the base of your upper lashes, wiggle the mascara wand slightly before pulling upward through the tips. This deposits product at the root where lashes look thickest, then lengthens toward the ends. Let the first coat dry before adding a second if you want more volume. For a cleaner result, apply lower lash mascara with the wand held vertically.
Warm Neutrals Work on Every Eye Color
If you're unsure where to start with shade selection, warm-toned neutrals - taupes, warm browns, peaches, and champagnes - are universally flattering and pair seamlessly with every eye color. Cool-toned palettes (mauves, greys, slates) are equally versatile. Starting in the neutral family gives you the widest margin for error and the most wearable results while you're building technique.
Common Mistakes and How to Recover From Them
Even with a clear process, a few stumbling blocks come up often enough to address directly:
- Shadow fallout under the eyes: Do your eye makeup before your foundation and concealer when possible. Any fallout can simply be dusted away without disrupting your base.
- Liner that looks too harsh: A pencil smudged immediately after application - before it sets - becomes much softer. A small flat brush dipped in a matching shadow pressed over the line also mellows the intensity.
- Uneven crease blending: Step back from the mirror. What looks dramatic up close often disappears at a normal viewing distance. If a line truly stands out, buff it with a clean dry brush using very light pressure.
- Shadow that fades by midday: This almost always traces back to skipping lid primer. Even a thin swipe of concealer patted dry creates significantly better adhesion.
Never Share Eye Makeup or Applicators
Sharing eyeliner, mascara, or shadow applicators with others significantly raises the risk of transferring eye infections, including conjunctivitis. Replace mascara every three months regardless of how much product remains, and clean your brushes regularly to prevent bacteria buildup on the tools touching your eye area.
Eyebrows frame everything you've just done - for a complete approach to shaping and filling them at home, see our guide to at-home eyebrow grooming. And for broader style inspiration, browse Style & Fashion for everyday confidence-boosting ideas.
Skin Prep Is Not Optional
The condition of your skin before any makeup application directly affects how the finished look sits, blends, and lasts. Skipping moisturizer makes powder shadows appear dry and patchy; skipping primer causes shadow to crease within hours. For a complete foundation, see our guide to skin prep habits that make makeup perform better before you begin.