Why Fit Matters More Than Size
Clothing sizes are designed for statistical averages, not individual bodies - which is why the same numeric size fits completely differently across brands, cuts, and countries. Understanding fit as a separate concept from size is the first mental shift that makes everything easier. If you've ever thought a garment made you look "off" without being able to say why, fit is almost always the culprit.
Before reaching for any tools, it helps to know the common fit failure points: shoulder seams that sit too far in or out, excess fabric pooling at the waist or hips, hemlines that hit at awkward visual breaks, and torso length that doesn't match yours. Once you can name what's wrong, you can decide whether to DIY, visit a tailor, or simply pass on the piece entirely.
For a deeper look at how the concept of "flattering" shapes our clothing choices - and why it's worth questioning - see our piece on what 'flattering' really means.
What you will need
What You'll Need
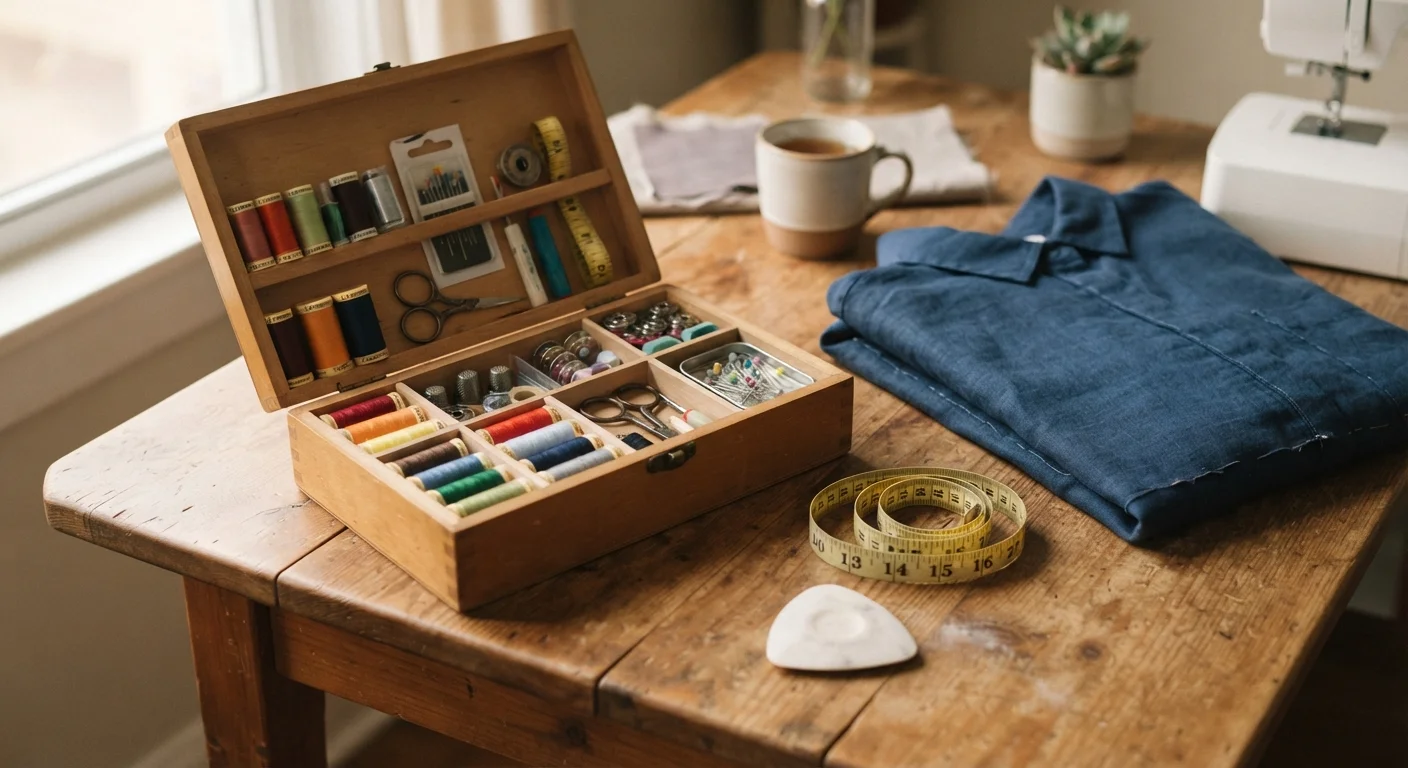
Most basic fit adjustments require minimal investment. Having these on hand means you can tackle small problems the same day rather than letting a garment collect dust.
Flexible measuring tape
Used to measure body dimensions and compare them to garment measurements before any cutting or sewing.
Fabric chalk or washable marker
Marks where adjustments should be made on fabric without leaving permanent traces.
Straight pins
Temporarily holds fabric in place so you can assess fit changes before sewing or hemming.
Iron-on hem tape
A no-sew solution for shortening hems on pants, skirts, and sleeves without a needle and thread.
Needle and thread (matching color)
Used for simple hand-sewn fixes like closing a small seam gap or tacking a loose lining.
Seam ripper
Safely removes existing stitching when you need to let out a seam or open a hem before re-sewing.
Step-by-Step: Common Adjustments You Can Do at Home
Work through these steps in order - assess first, then adjust. Rushing straight to scissors is how good clothes get ruined.
Identify the exact fit problem
Put the garment on with the undergarments and shoes you'd normally pair it with. Stand in front of a full-length mirror and check these points in order:
- Shoulders: The seam should sit at the edge of your shoulder bone - not drooping onto the arm, not pulled up toward your neck.
- Chest/bust: No pulling, gaping, or excess fabric bunching horizontally.
- Waist: Is there too much fabric, or is it too tight to move comfortably?
- Length (torso or hem): Does the hem hit at a proportion that works for your body, or does it cut you at an awkward visual point?
Use a pin to mark any problem spots on the outside of the fabric so you remember them once you take the garment off.
Measure the garment, not just your body
Lay the garment flat on a clean surface. Measure the key areas - across the chest, at the natural waist, across the hips, and the total length. Compare these measurements to your own body measurements plus ease (ease is the extra room that lets you breathe and move; typically 1-2 inches for fitted pieces, more for structured outerwear).
This tells you whether a fix is feasible. If a waistband is 4 inches too small, letting out the seams won't create fabric that isn't there. If it's 1 inch too big, a simple tuck or dart will do the job.
Fix the hem with iron-on tape
For pants, skirts, or sleeves that are too long, iron-on hem tape is the simplest fix with no sewing required:
- Fold the fabric up to your desired length and press the fold with an iron.
- Cut a strip of hem tape to fit inside the fold.
- Following the tape manufacturer's instructions, press the iron firmly over the fold for the recommended time.
- Let it cool completely before wearing - the bond needs to set.
For machine-washable durability, a hand-sewn slip stitch along the fold provides a more secure finish than tape alone.
Take in a seam for a better waist or side fit
If a top or dress is too wide at the waist or sides, you can take in the side seams with basic hand or machine stitching:
- Turn the garment inside out and put it on carefully, or pin it while wearing it (ask for a second pair of hands if possible).
- Pinch and pin the excess fabric at the side seams, creating an even taper from hip to waist.
- Take the garment off and use chalk to mark a new seam line based on your pins.
- Sew along the marked line, then try the garment on again before trimming any excess fabric.
Decide what to pass on to a professional
After your at-home assessment, some jobs will clearly need more than pins and tape. Hand the garment to a tailor when:
- The shoulders don't fit - this is structurally the hardest alteration and affects every other part of the garment.
- The fix requires moving or replacing a zipper.
- The garment has significant structure (interfacing, lining, boning) that needs to be dismantled and rebuilt.
- You're working with delicate fabrics like silk, leather, or beaded fabric where an error is irreversible.
A clear brief and realistic expectations make the tailor visit far more productive for everyone.
Try It On Before Washing
Always assess fit before the first wash - many garments shift in size after laundering, especially those with natural fibers like cotton or linen. If a piece fits perfectly off the rack or after alteration, note the care label instructions so you don't accidentally shrink or stretch it back out of shape.
When to See a Tailor - and What to Ask For
Some alterations genuinely require professional skill and equipment. Shoulder reshaping, moving zippers, resizing structured jacket chests, and altering waistbands with back seams are all jobs where a tailor's time is money well spent. The rule of thumb: if a garment costs significantly more than the alteration, it's worth it. If the piece was inexpensive and the fix is complex, reconsider.
When you do visit a tailor, use precise language. Instead of "make it smaller," say "take in the side seams by about an inch at the waist." Instead of "it's too long," say "I'd like the hem to sit just below the knee." Bring the shoes or undergarments you plan to wear with the piece - these affect the ideal length dramatically.
Shoulders Cannot Be Easily Fixed
Shoulder fit is the single most important thing to get right when buying a garment off the rack. Altering shoulders requires dismantling the sleeve attachment, and on structured jackets or coats, it can cost as much as the garment itself. If the shoulders don't fit in the fitting room, consider it a pass - no amount of tailoring elsewhere will compensate for a misaligned shoulder seam.
Clothes that fit well get worn repeatedly, which is itself a sustainable and cost-effective habit. If you're working on making the most of what's already in your closet, shopping your own closet first is an excellent companion strategy. And once pieces fit the way they should, outfit repeating becomes genuinely effortless.