Why Grout Cracks in the First Place
Grout looks solid, but it's a relatively brittle material that depends entirely on a stable surface beneath it. When that surface flexes - even a little - grout is usually the first thing to show the strain.
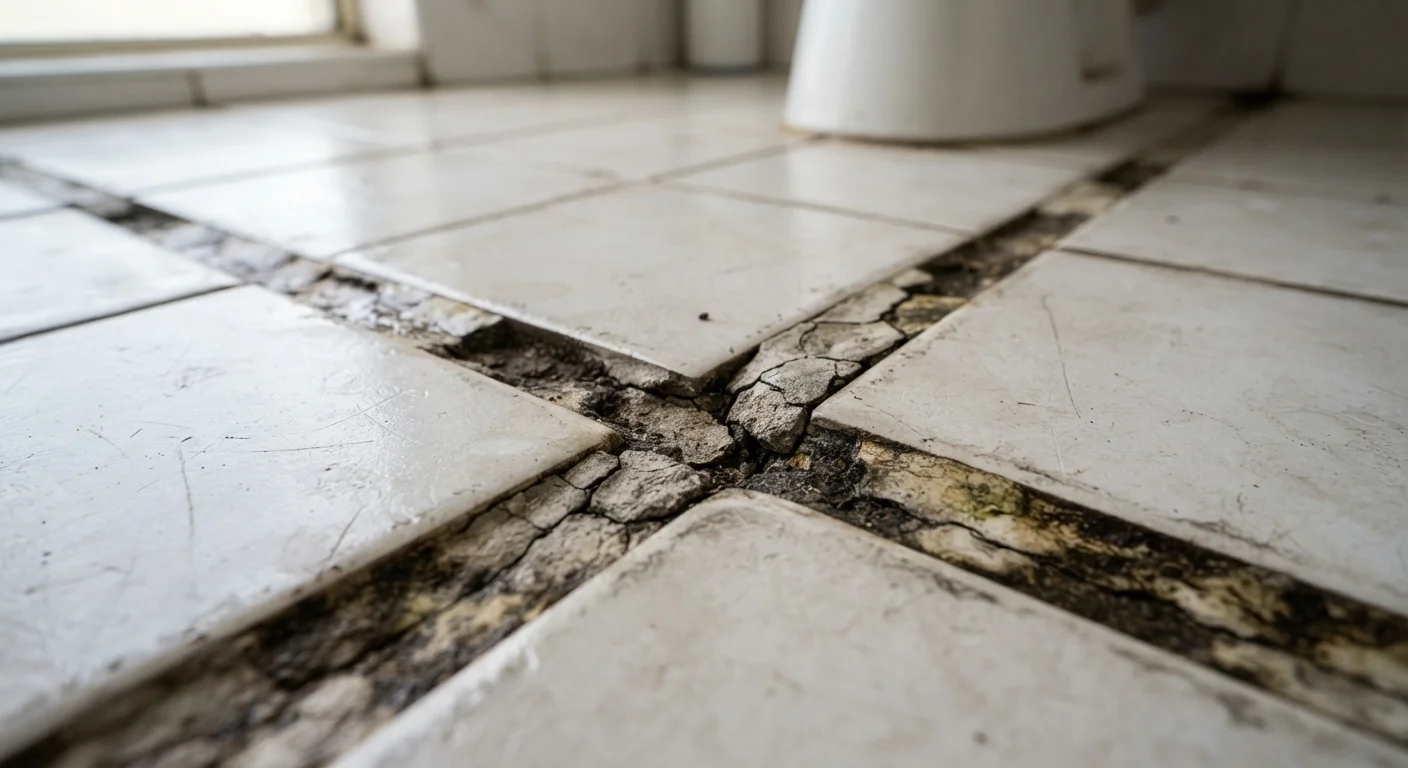
The most common culprit is subfloor movement. Every home experiences some degree of settling and seasonal expansion and contraction. If the subfloor beneath a tile installation isn't stiff enough, tiles shift slightly with each footstep or temperature swing, and grout - which has no give - fractures along the joint lines.
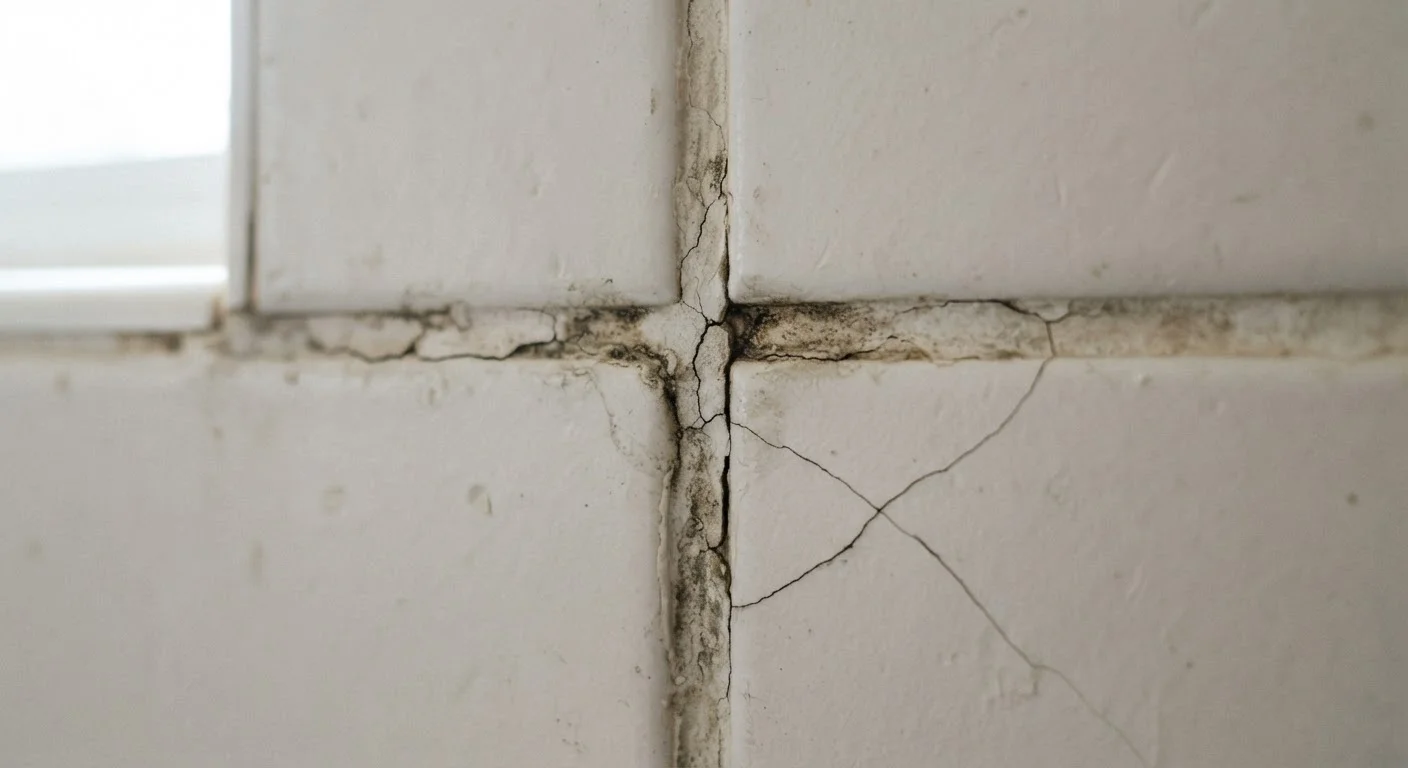
Moisture is another major driver. In bathrooms and kitchens, water that seeps into cracked grout can weaken the bond between grout and tile edges over time, making existing cracks worse. This cycle accelerates when grout isn't sealed properly at installation or after cleaning.
Finally, some cracking traces back to the original installation itself - grout mixed too wet, applied over dirty tile edges, or used in joints too wide or narrow for the grout type selected. These issues show up within the first year or two of a tile installation.
Understanding which cause applies to your situation matters a lot. Filling cracks with fresh grout without fixing the underlying problem means you'll be doing the same repair again in six months. For a deeper look at the structural and moisture-related factors involved, see why grout keeps cracking before you commit to a repair approach.
Common Mistakes Homeowners Make with Grout Repairs
Most grout repair attempts fail not because the homeowner used the wrong product, but because they skipped a critical step - or misread what the grout was telling them. Here are the mistakes that lead to repeated repairs.
Grouting over existing cracked grout without removing it first.
Why it happens: It seems faster to fill a crack than to dig out old grout, and some products are marketed as 'grout touch-up' solutions that appear to make this viable.
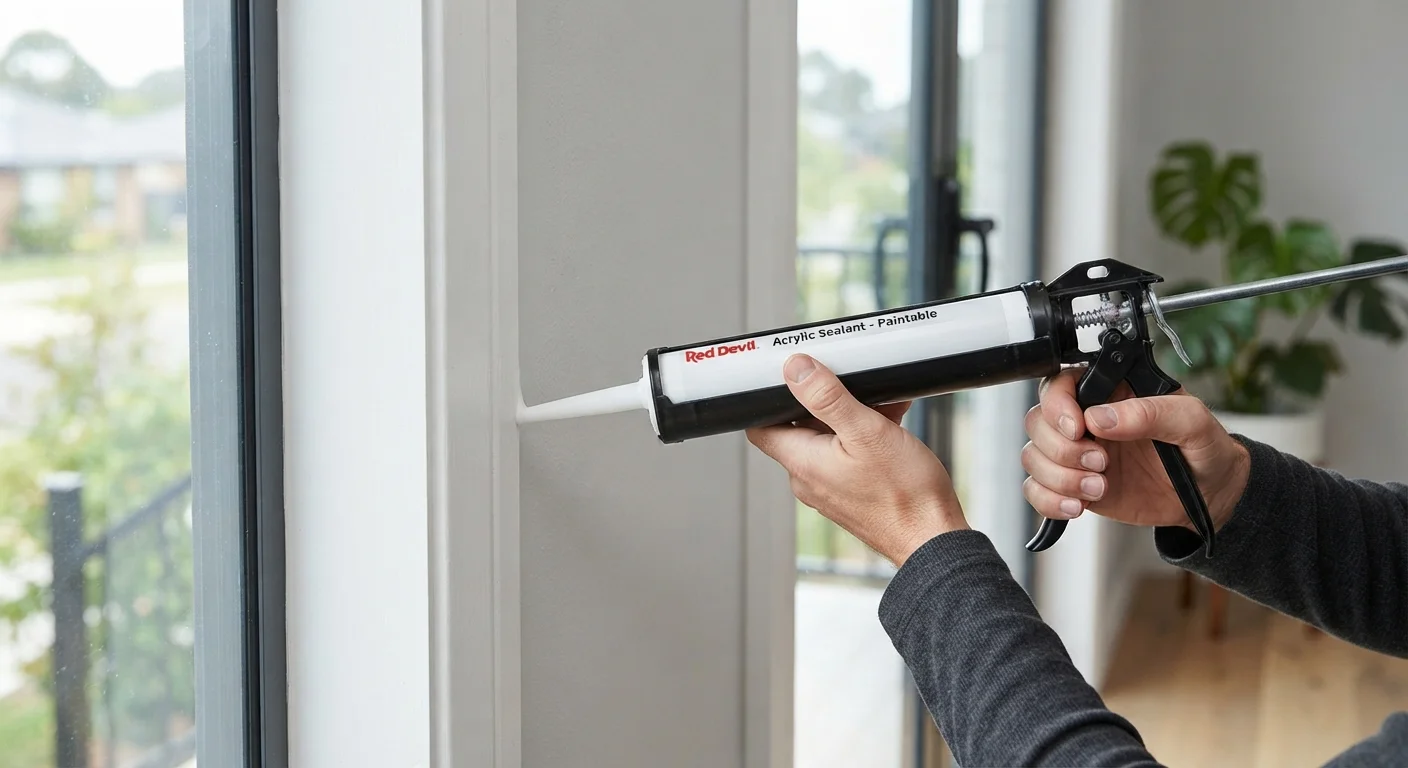
Using grout in corner joints and change-of-plane transitions where caulk is required.
Why it happens: Grout looks uniform and many homeowners don't realize that corners move differently from flat tile fields - or that the tile industry specifically calls for caulk in those locations.
Skipping grout sealer after installation or repair.
Why it happens: Sealing is an extra step that's easy to overlook, especially after the visual work of tiling or grouting is done and the project feels complete.
Regrouting without addressing the cause of subfloor flex.
Why it happens: Fixing the subfloor feels like a major project, and homeowners hope the new grout will just hold this time. Sometimes it does - briefly - which reinforces the shortcut.
Mixing grout too wet or applying it before tile adhesive is fully cured.
Why it happens: Adding extra water makes grout easier to spread, and impatience with cure times is common on DIY projects with tight timelines.
If you're also dealing with gaps around tubs or fixtures, caulk - not grout - is the right material for those joints. Our guide to caulking around tubs and windows explains which product to use and how to apply it cleanly. It's also worth reading about common DIY myths that lead to costly fixes - several apply directly to tile work.
Don't Mix Grout Types in the Same Field
Sanded and unsanded grout have different expansion properties. Patching cracked sanded grout with unsanded filler - or vice versa - can create color mismatches and inconsistent durability. Always match the grout type and, as closely as possible, the original color formula when doing partial repairs. Bring a tile sample or photo to a tile supply store if you're unsure what was originally used.
When Cracked Grout Signals a Bigger Problem
Occasional hairline cracks in a single tile joint are normal wear. But widespread cracking - especially in a pattern, or returning shortly after repairs - suggests something structural is going on underneath.
A subfloor with too much flex (sometimes called deflection) is the most frequent underlying issue. Building standards specify maximum acceptable deflection for floors under tile, and floors that don't meet that threshold will crack grout repeatedly regardless of how well the grout itself is applied.
Widespread Cracking May Require a Pro
If grout is cracking across a large area - especially in a pattern that follows grout lines rather than appearing at random spots - this often points to a subfloor that doesn't meet minimum stiffness requirements for tile. Regrouting without fixing the subfloor is a temporary solution at best. A licensed tile contractor can assess whether the substrate needs reinforcement before any surface repair makes sense.
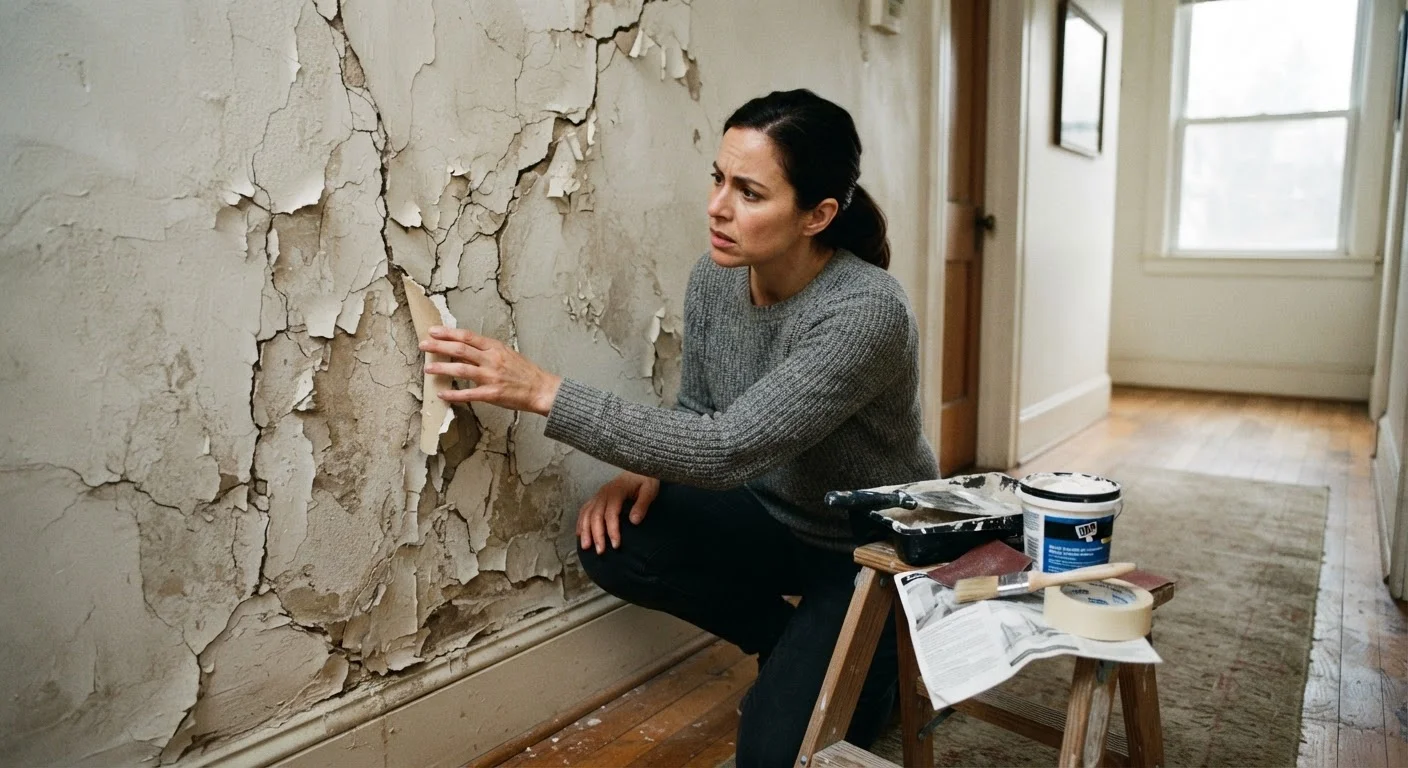
Moisture intrusion from a failing waterproof membrane can also drive persistent cracking. In wet areas like shower floors, water that gets beneath the tile layer erodes the mortar bed, destabilizing tiles and grout alike. If you notice soft or hollow-sounding tiles alongside cracked grout, that combination is a strong signal of membrane failure - a repair that typically requires a licensed tile professional.
Grout problems in basement bathrooms or on slabs can also connect to broader moisture issues in the home's foundation. Keeping a basement dry covers how to trace and address moisture at the source, which can prevent recurrence of tile and grout damage in below-grade spaces. Similarly, gutter maintenance affects how much water reaches your home's foundation - a factor worth reviewing if you're seeing moisture-driven damage indoors.
This article is for general informational purposes only. For hazardous or structurally significant repairs, consult a licensed contractor or tile professional to evaluate your specific situation.