Why Grout Cracking Is Rarely Just an Age Problem
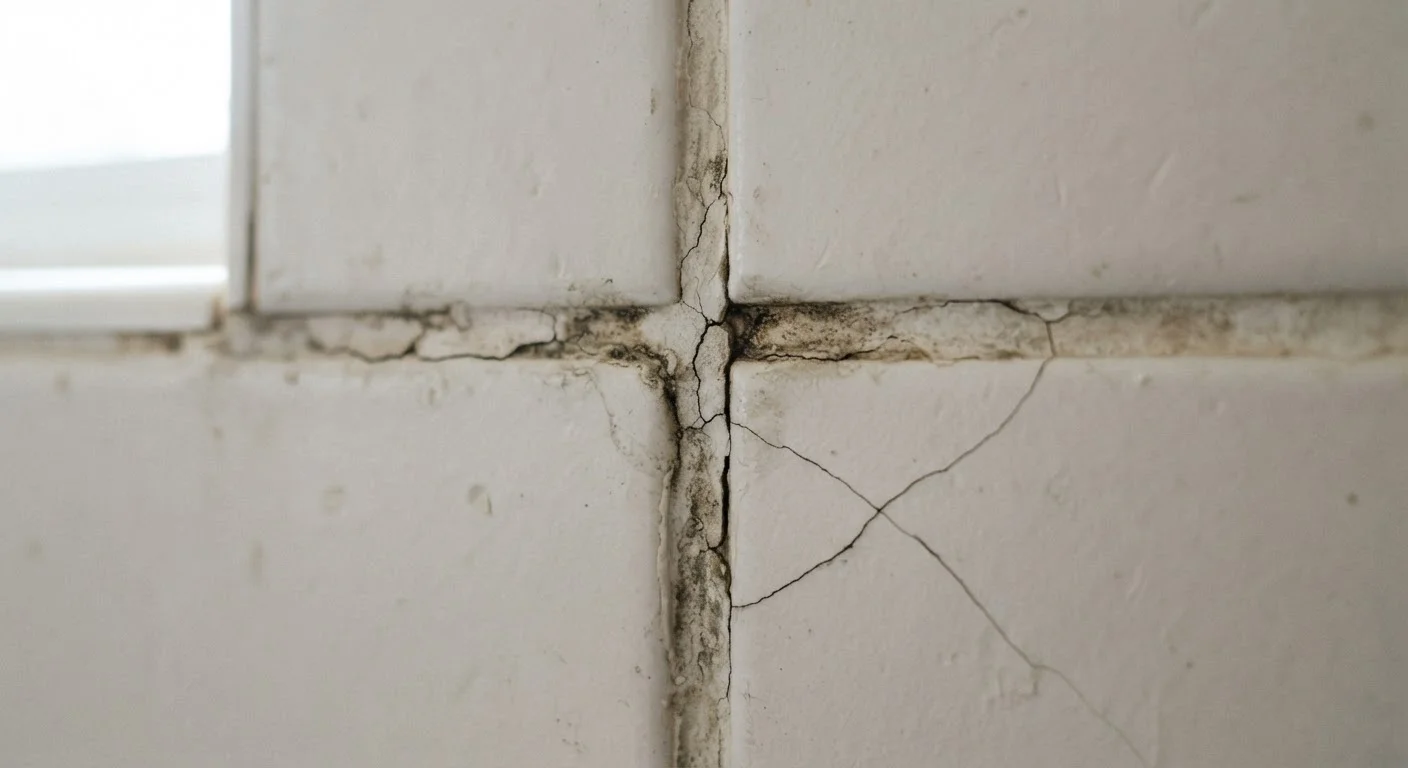
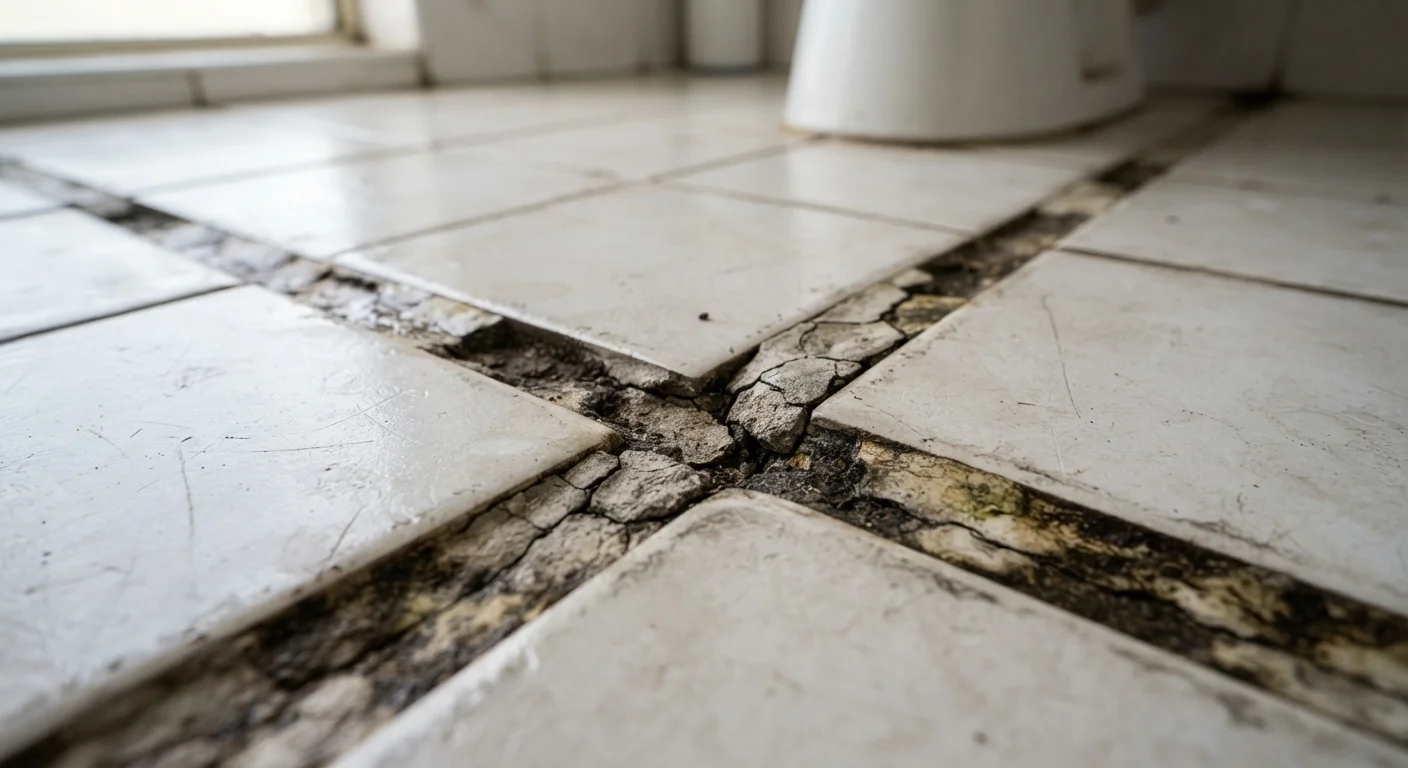
Grout does wear over time, but in most homes, cracking shows up far earlier than it should - and blaming age alone means missing the real problem. Grout fails for identifiable, fixable reasons: the substrate moves, moisture gets in, the wrong product was chosen, or installation shortcuts were taken. Understanding which factor is at work in your home is the only way to make a repair that actually holds.
The good news is that most grout failures follow predictable patterns. Once you know what to look for, you can address the cause rather than repeatedly patching the symptom. For a broader look at causes and repair approaches, our article on what causes grout to crack covers the full picture.
Cracking May Signal Structural Movement
If grout is cracking in multiple areas of your home - especially along walls or floor-to-wall transitions - this can indicate foundation settling or structural movement. Before regrouting, consult a licensed contractor or structural inspector to rule out underlying issues. Cosmetic repairs on top of a structural problem will not hold.
The Mistakes That Lead to Repeat Grout Failures
Most persistent grout problems trace back to one or more of the following errors - made either during original installation or during a previous repair attempt. Recognizing them is the first step toward a fix that lasts.
Using the wrong type of grout for the application - for example, applying sanded grout in narrow joints or unsanded grout in wide joints.
Why it happens: Many homeowners pick grout based on color rather than joint width or surface type. Packaging guidance often goes unread.
Skipping or improperly installing expansion joints, particularly at wall-to-floor transitions and in large tiled areas.
Why it happens: Expansion joints aren't visually obvious in finished tile work, so homeowners often treat them as optional. Grout looks uniform, so the instinct is to fill every gap with it.
Regrouting over cracked grout without removing the old material and identifying the cause.
Why it happens: Pressing new grout into existing cracks looks like a fast fix, and many homeowners don't realize the old grout needs to come out entirely.
Allowing water to penetrate unsealed grout in wet areas, leading to moisture-driven deterioration and cracking.
Why it happens: Grout sealing is frequently treated as optional or forgotten after installation. Homeowners often don't realize sealer needs periodic reapplication.
Using too much water when mixing or cleaning grout, weakening the final product.
Why it happens: Adding extra water makes grout easier to spread and clean up, so it's a common shortcut - especially for first-time tilers.
Don't Skip the Substrate Check
Applying new grout over a soft, flexing, or water-damaged substrate is a reliable way to end up back at square one within months. Press firmly on tiles before regrouting - any give, hollow sound, or movement means the substrate needs attention first. A tile installer or contractor can assess whether the subfloor or backer board needs repair or replacement.
A thorough repair starts before you open a bag of grout. Check that tiles are firmly bonded, the substrate is stable and dry, and that expansion joints exist wherever two planes meet. Skipping this assessment is what turns a weekend project into a recurring headache.