Understanding What Contouring Actually Does
Contouring is a makeup technique that uses light and shadow to define facial structure. A matte shade slightly darker than your skin tone creates the illusion of shadow - making areas appear to recede - while a highlighter (lighter, often with a subtle sheen) brings features forward into the light. Together, they add dimension to a flat photograph and emphasize the angles you already have.
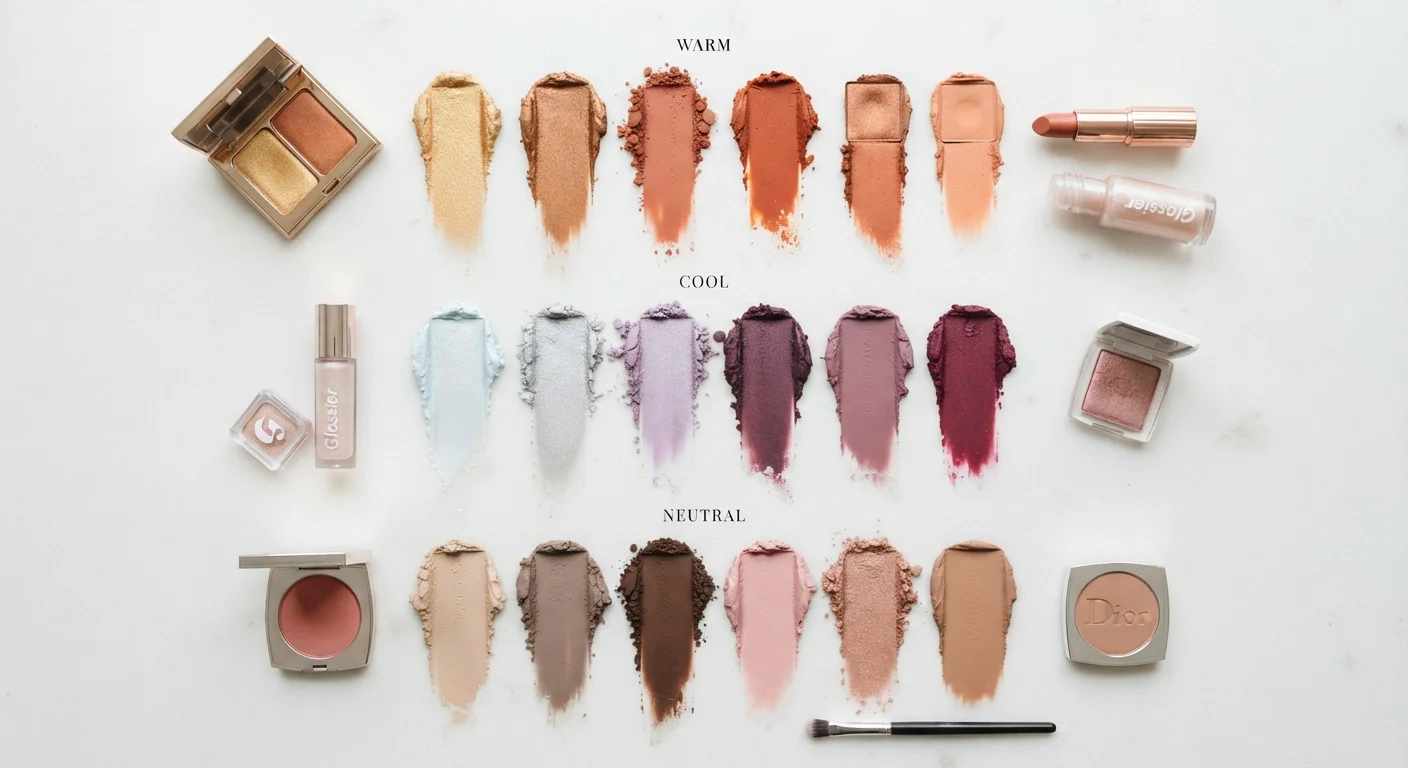
Before you reach for a brush, it helps to understand your own skin's undertone, since the right contour shade should read as a natural shadow rather than an orange or ashy streak. Understanding your skin undertone is foundational to choosing shades that blend seamlessly. For a warm undertone, choose a contour with a slight taupe-brown cast; for cool undertones, a greyed-brown tends to blend more convincingly.
It's also worth naming something the beauty industry often glosses over: contouring is about expressing your features, not correcting them. There is no face shape that requires fixing. The concept of "flattering" carries assumptions worth questioning - use these techniques because they're fun, not because any feature is a problem to solve.
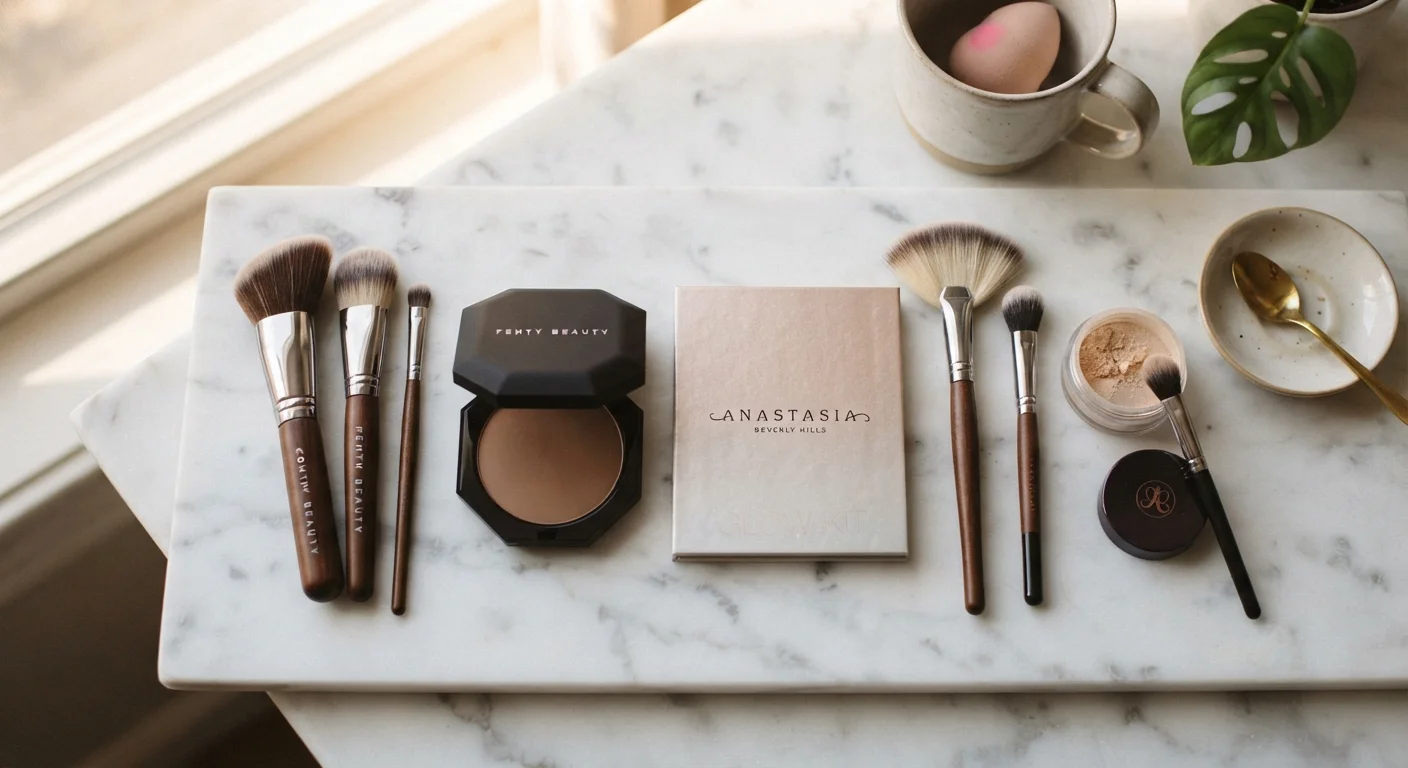
What you will need
Contour Placement by Face Shape
Face shapes are generally grouped into four broad categories. Most faces are a blend, so treat these as starting points rather than rigid rules.
- Oval: Often considered the most balanced proportions - forehead slightly wider than the chin, face about one and a half times as long as it is wide. Light contouring along the outer edges of the forehead and sides of the jaw maintains that balance. A sweep of highlighter down the nose bridge and on the center of the forehead adds a luminous focal point.
- Round: Similar width and length, with soft curved lines. Contour along the temples sweeping down beneath the cheekbones, and under the chin to create length. Highlight down the center of the face - forehead center, nose bridge, and chin tip - to elongate visually.
- Square: Strong, defined jawline with similar forehead and jaw width. Soften the corners by contouring the outer edges of the forehead and the jaw corners. Highlighter on the center forehead and the tops of cheekbones shifts emphasis toward the center of the face.
- Heart: Wide forehead tapering to a narrower chin. Contour the outer temples to visually reduce width at the top, and use highlighter on the chin and along the jaw to bring attention downward.
Mix and Match Shape Rules
Most faces don't fit neatly into one category - and that's completely normal. If you identify with two shapes, try blending their techniques. For example, a face that's round in the lower half but wider at the temples might combine heart-shape temple contouring with round-face chin highlighting. Experimentation is part of the process, and what works best will become clear with practice.
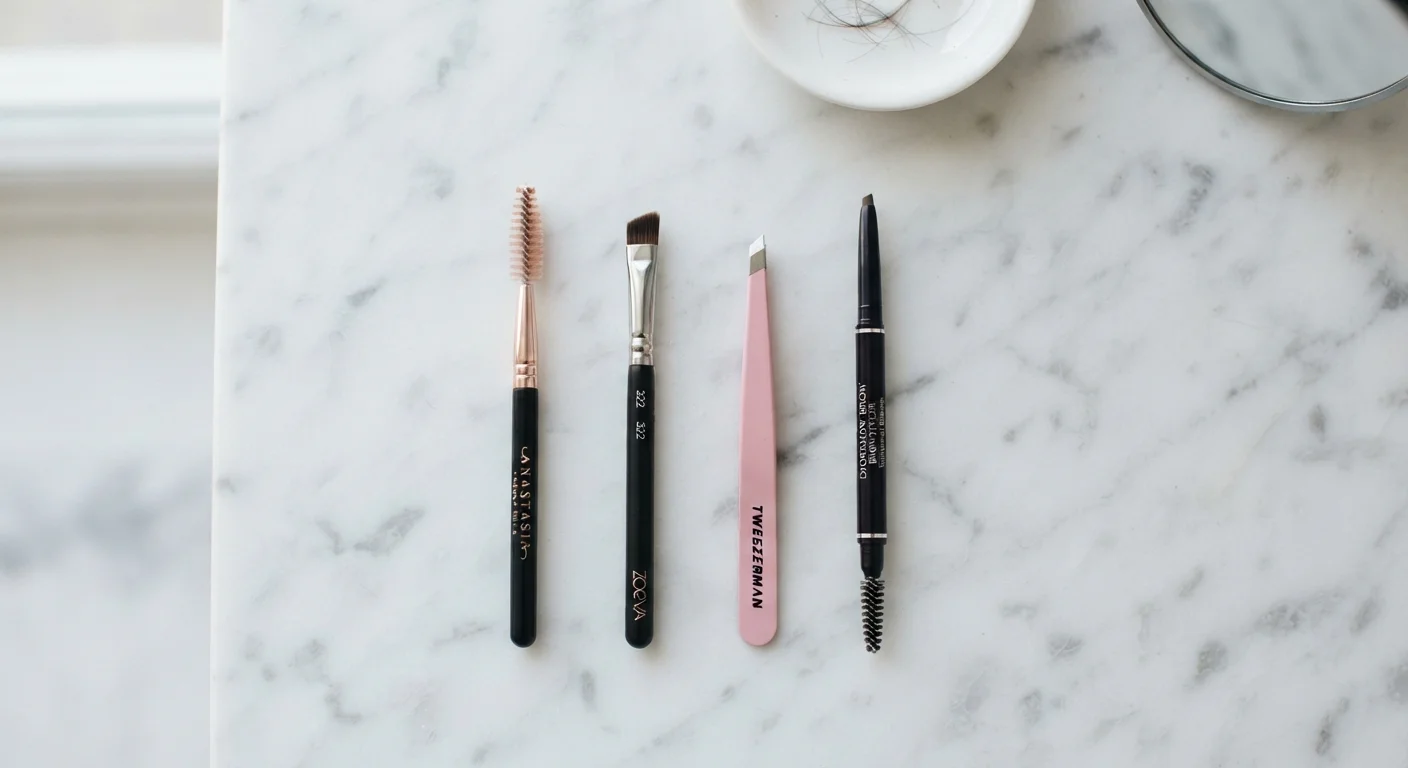
Once you're comfortable with contouring, pairing it with well-groomed brows completes the frame. A complete guide to at-home eyebrow grooming walks you through shaping and filling for a polished result.
Identify Your Face Shape
Stand in front of a well-lit mirror and pull your hair back. Look at the overall outline of your face. Key things to notice: Is your forehead wider or narrower than your jaw? Does your face appear roughly as wide as it is long, or noticeably longer? Is your jawline angular or curved? Refer to the four shape descriptions in the previous section to find your closest match - or a blend of two.
Load Your Brush Lightly
Tap your contour brush into the product and then tap off the excess on the back of your hand or the edge of the pan. A light load of product is essential - powder contour is much easier to build up gradually than to remove once over-applied. For cream contour, use a small amount on a damp sponge.
Apply Contour Along the Perimeter
Using your shape-specific guide from the previous section, apply the contour shade to the outer areas of your face. Use light, sweeping strokes that follow the natural curve of your hairline and cheekbone hollow. For the cheeks, place the product in the hollow beneath the cheekbone - find this hollow by sucking in your cheeks slightly and placing the brush just above that line.
Blend, Blend, Blend
Switch to a clean section of your blending brush (or a fresh sponge) and buff the edges of the contour using circular motions. There should be no visible line between the contour shade and your foundation. Hold the mirror at arm's length periodically to check that the result looks natural rather than striped.
Apply Highlighter to High Points
Using a fan brush or a smaller highlight brush, apply your highlighter to the tops of the cheekbones (above where you placed the contour), the center of the brow bone, the nose bridge (optional), and the cupid's bow. These are the areas that naturally catch light. For a softer look, choose a satin-finish highlighter rather than a glittery one.
Step Back and Assess in Natural Light
Move to a window or step outside before considering your look finished. Bathroom lighting - especially warm or overhead lighting - can make contour appear more blended than it is. Natural light is the truest test. If you spot any hard edges or uneven patches, blend further or use a small amount of setting powder to soften.
Common Mistakes and How to Avoid Them
Even seasoned makeup wearers run into the same stumbling blocks with contouring. The most frequent issue is using a shade that's too dark or too warm, resulting in a muddy line rather than a natural shadow. When in doubt, go lighter - you can layer product, but removing it means starting over.
Contour Shade Should Mimic Natural Shadow
Avoid contour shades with strong orange, red, or cool-grey tones unless they genuinely match your skin's natural shadow. A shade that is clearly different from your undertone will look painted on rather than sculpted. When testing a new product, swatch it on your jawline in natural light before committing to a full application.
Another common error is applying contour too close to the center of the face. Contour belongs on the outer edges and hollows - the perimeter of the forehead, beneath the cheekbone (not on top of it), and along the jawline. Bringing it too close to the nose or mouth tends to look heavy rather than sculpted.
Finally, skipping a well-rounded tool kit leads to patchy application. A fluffy, dome-shaped brush distributes powder contour evenly. For cream formulas, a damp makeup sponge pressed (not dragged) across the skin blends edges without lifting product. If you're building out your kit, a minimal makeup kit guide can help you invest in versatile tools without overdoing it.
This article is for informational purposes only and reflects general beauty education. Individual results will vary based on skin type, product formula, and technique. No specific products are endorsed or recommended.