
Why Pre-Winter Prep Pays Off
Winterproofing isn't about reacting to problems - it's about catching the conditions that lead to them. Cold air seeping through gaps raises heating costs. Water in a frozen pipe doesn't just stop flowing; it expands until something gives way. A struggling furnace that hasn't been serviced often fails on the coldest night of the year, exactly when you need it most.
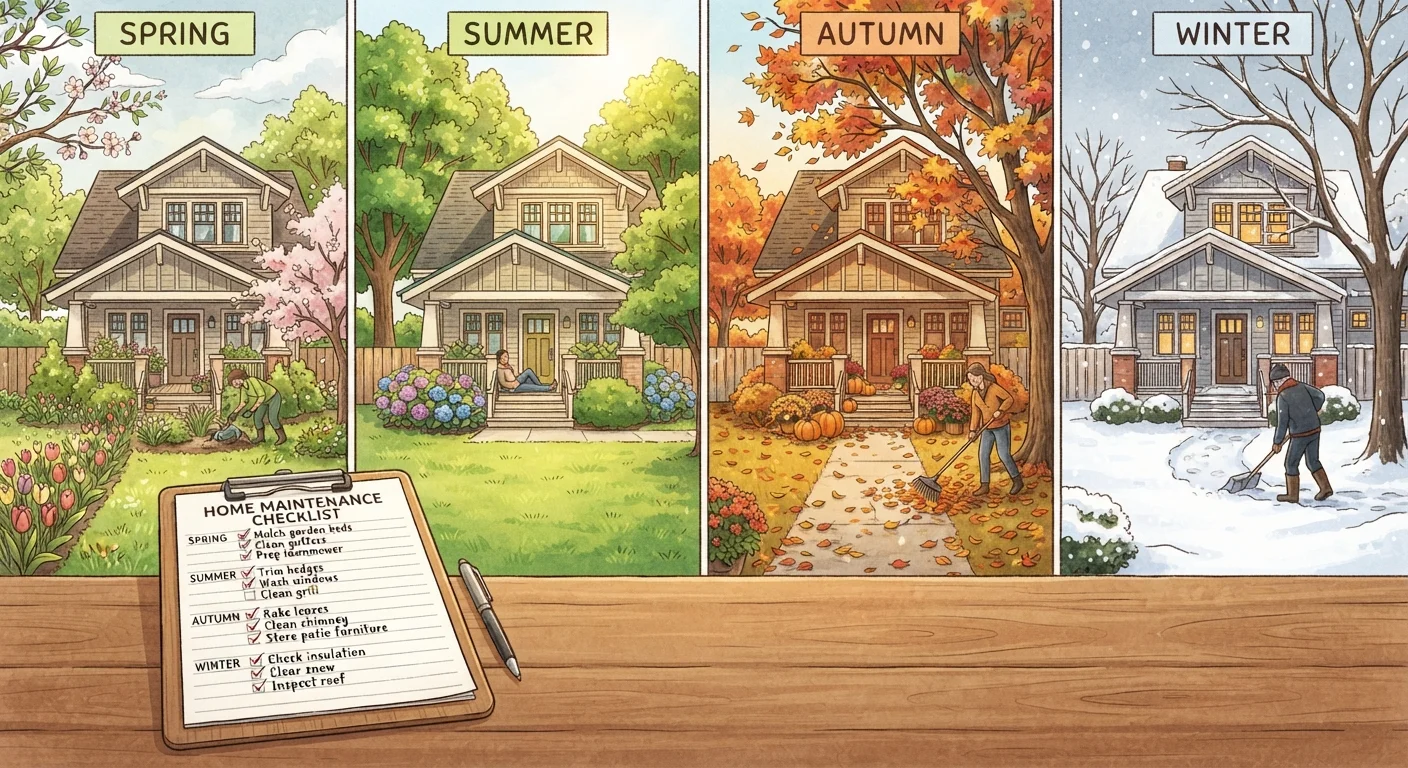
The tasks in this guide are manageable for most homeowners over a weekend, and most require only basic tools. Tackling them before temperatures drop consistently is what makes them practical rather than frantic. This walkthrough fits into the broader context of year-round home care - the seasonal home maintenance calendar offers a full month-by-month view if you want to build these habits into a longer routine.
If you're also preparing for winter weather beyond the home, separating DIY fact from fiction can help you avoid the kinds of well-meaning shortcuts that quietly become expensive repairs.
What you will need
What You'll Need
Most of these supplies are available at hardware stores in standard sizes. Buy pipe insulation sleeves before you measure - they're inexpensive and having extra is rarely a problem. When selecting caulk, read the label: exterior applications and areas exposed to water need products rated for those conditions.
Caulk gun and weatherproof caulk
Seals gaps around window frames, door frames, and exterior penetrations to block cold air infiltration.
Foam weatherstripping tape
Applied to door and window stops to create an airtight seal when closed.
Pipe insulation foam sleeves
Wraps exposed pipes in unheated areas to reduce the risk of freezing.
Furnace filter (correct size for your unit)
Replaces the existing filter to maintain airflow and heating efficiency.
Gutter scoop or garden trowel
Clears leaves and debris from gutters before freezing temperatures arrive.
Candle or incense stick
Helps detect drafts near windows and doors by revealing air movement as smoke or flame flicker.
Programmable or smart thermostat
Maintains consistent temperatures throughout the home to prevent pipe freezing in unused rooms.
Step-by-Step Weatherproofing Walkthrough
Work through these steps in order - auditing for drafts first gives you a clear picture of where to focus your sealing efforts before you open any supplies. Give yourself a full afternoon for steps one and two alone if your home has older windows or original door weatherstripping.
Audit your home for drafts
Walk through each room on a windy day and hold your hand near window and door edges, electrical outlets on exterior walls, and any point where pipes or wires pass through walls. A lit candle or incense stick makes subtle air movement more visible. Mark any spots where you feel cold air with a piece of tape.
Pay particular attention to the attic hatch, basement rim joists (the framing that sits on top of your foundation), and sliding glass doors - these are consistently among the leakiest areas in American homes.
Seal gaps with caulk and weatherstripping
For stationary gaps - around window frames, where siding meets trim, or where pipes exit the house - apply a continuous bead of exterior-grade or paintable caulk. Cut the nozzle at a 45-degree angle for better control, and smooth the bead with a damp finger before it skins over.
For movable parts like door edges and window sashes, use foam or V-strip weatherstripping. Remove old, compressed material before installing the new strip to ensure a proper seal.
Insulate exposed pipes
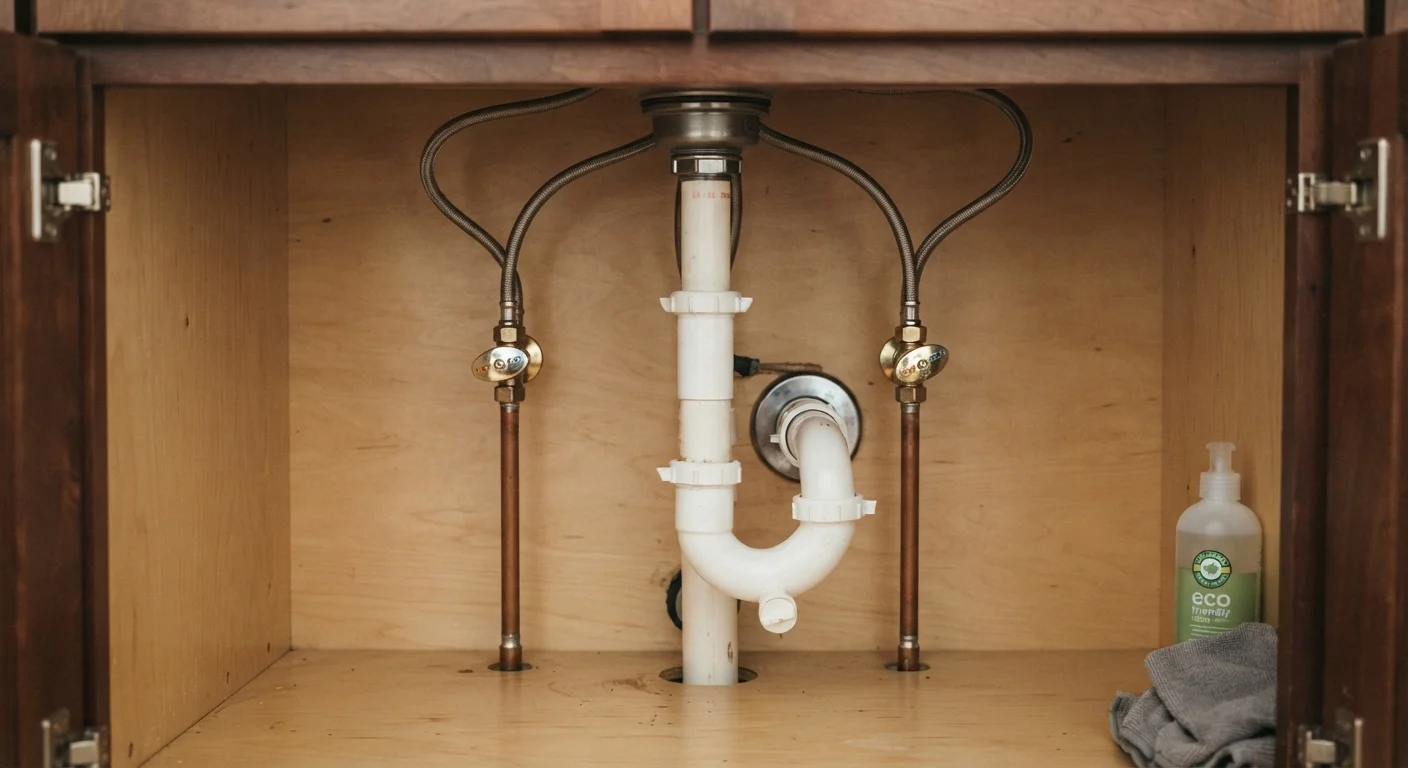
Locate any pipes running through unheated spaces: the garage, crawl space, basement exterior walls, and cabinets on exterior walls. Slide pre-slit foam pipe insulation sleeves over these pipes, securing seams with duct tape. Pay close attention to any pipe that runs close to an exterior wall or in a space that won't stay above 32°F (0°C).
Know where your main water shut-off valve is before winter arrives. If a pipe does freeze and burst, getting to that valve quickly is critical. See our overview of home plumbing basics for guidance on locating and testing your shut-off.
Service your heating system
Replace the furnace filter - most manufacturers recommend doing this every one to three months during active heating seasons. A clogged filter forces the blower motor to work harder and reduces the system's ability to heat your home evenly.
Schedule a professional HVAC inspection if you haven't had one in the past year. A technician will check the heat exchanger for cracks (a safety concern with combustion systems), test ignition components, and verify that carbon monoxide levels are safe. Do this before the busy season drives up wait times.
Clean and inspect your gutters
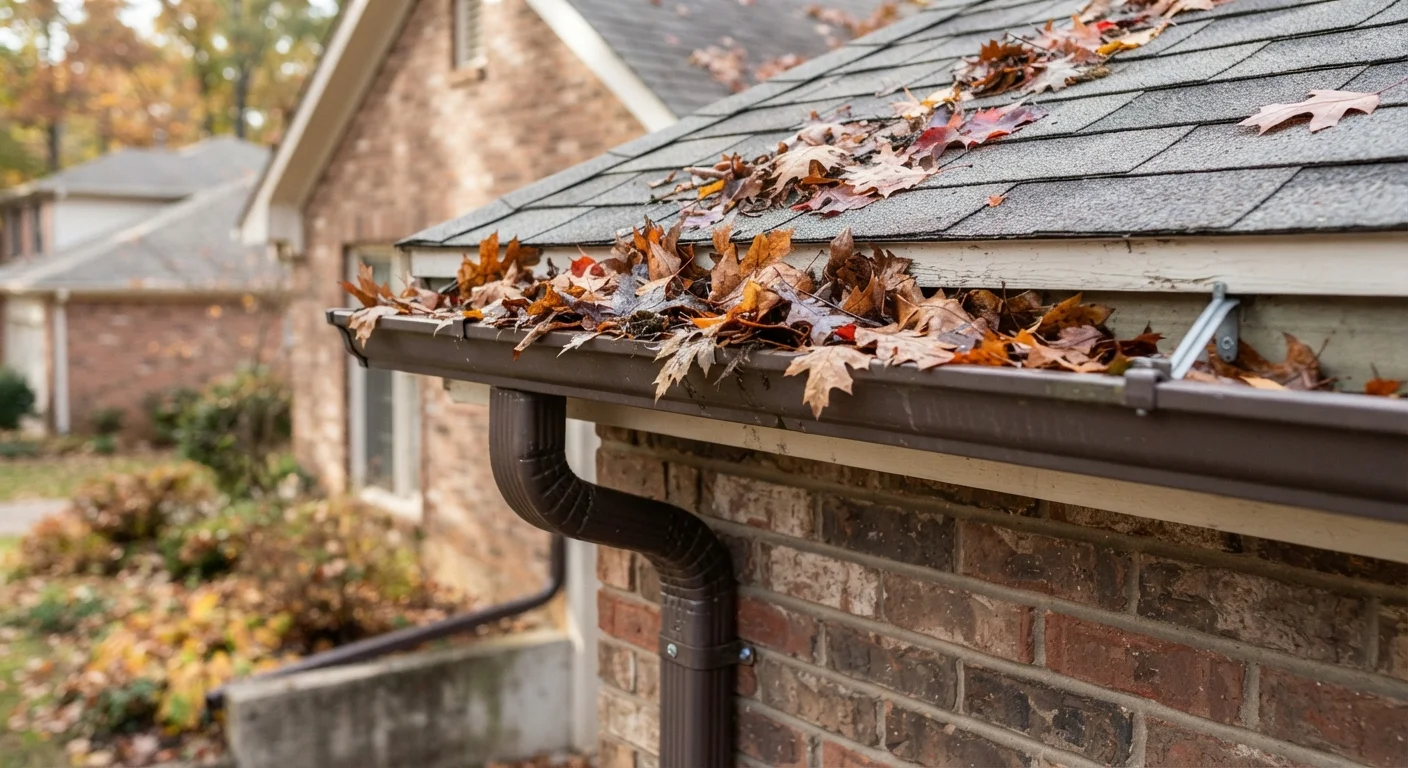
Clear leaves, seed pods, and debris from gutters and downspouts before the first freeze. Clogged gutters cause meltwater to back up under shingles and freeze, forming ice dams that can damage your roof deck and lead to interior water intrusion. Our guide to gutter maintenance explains the mechanics in detail.
Once clear, run a hose through the downspout to confirm water exits freely at the base and drains away from the foundation. If you notice sagging sections or separated joints, resecure them before freezing temperatures make the work more difficult.
Protect outdoor fixtures and disconnect hoses
Disconnect and drain all garden hoses before the first hard freeze. Water left in a connected hose can back-freeze into the supply pipe inside your wall, even if you have a frost-free sillcock (outdoor faucet). Store hoses in a garage or shed.
Shut off the interior valve supplying outdoor faucets if your home has one, then open the outdoor faucet to drain residual water. Cover exposed exterior faucets with insulated faucet covers if you cannot isolate them with an interior shut-off. Also drain and store irrigation system lines, and cover or bring in any outdoor furniture that may trap ice and water against siding or decking.
Start With the Attic and Rim Joists
If you have limited time, prioritize air sealing in the attic floor and along the rim joists in your basement. These two areas account for a disproportionate share of heat loss in many homes. Rigid foam board or spray foam works well in the rim joist cavity; loose-fill insulation is effective for large attic floor areas.
After the Checklist: What to Monitor All Winter
Weatherproofing isn't a one-time task - it's worth doing a brief walkthrough after the first major storm. Check that insulation on exposed pipes is still secured, look for new gaps around any area where ice has formed on the exterior, and make sure your sump pump (if you have one) is operational before heavy snowmelt season begins. For more on keeping water out at the foundation level, see our guide to basement moisture control.
Also keep an eye on tasks that don't announce themselves as urgent. Dryer vents, water heater sediment, and similar overlooked items tend to compound quietly - the guide to easily forgotten maintenance tasks is a useful companion read once your winterproofing is complete.
When to Call a Professional
Gas line work, electrical panel upgrades, and structural repairs are not DIY territory - these require licensed contractors and, in most jurisdictions, permits and inspections. If your weatherproofing audit reveals cracks in the foundation, signs of roof deck damage, or a furnace that won't start, contact a qualified professional before attempting a fix yourself. Skipping the permit or inspection process on regulated work can create liability issues when you sell.