Why a Roof Inspection Is Worth Your Time
Most homeowners don't think about their roof until something goes wrong - and by then, a minor issue has often become a costly one. A proactive inspection gives you a clear picture of your roof's condition before weather events or age turn small vulnerabilities into interior water damage or structural problems.
Roof inspections are also useful at predictable moments: before buying or selling a home, after a significant hailstorm or wind event, when your homeowner's insurance is up for renewal, or simply as part of a regular maintenance rhythm. Many roofing professionals suggest inspections every two to three years for roofs in good shape, and annually for older roofs or those in climates with heavy weather exposure.
Understanding what goes into an inspection - and how to engage with the process - means you'll get more out of it. For broader guidance on how to navigate any professional service visit with confidence, see our guide to making the most of service appointments.
What you will need
What Inspectors Look For - And How to Read Their Findings
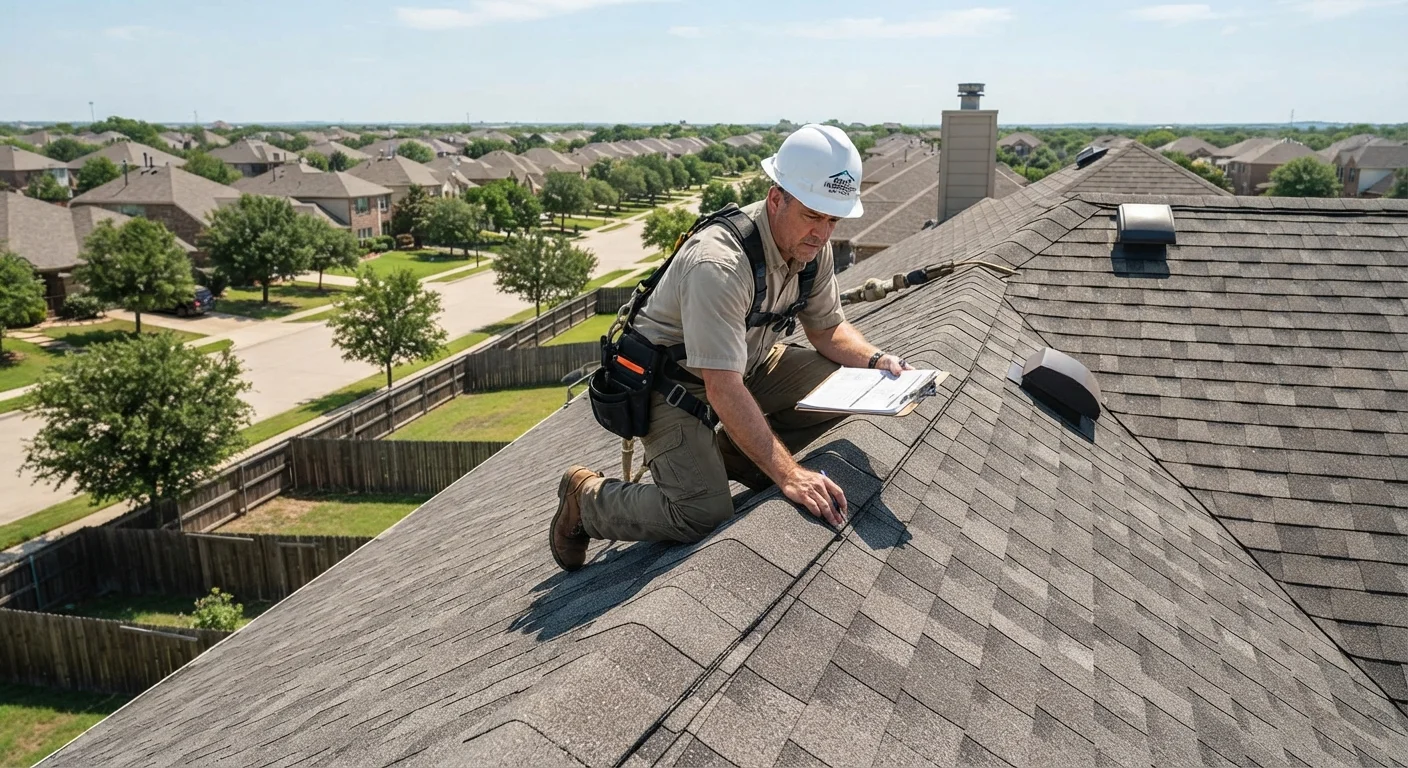
Roof inspectors follow a systematic checklist that covers both what's visible from outside and what can be assessed from the attic. Here's a plain-language breakdown of the major areas:
- Shingles: Inspectors look for cracking, curling edges, missing shingles, and granule loss (the gritty coating that wears away with age). Significant granule loss often signals a roof nearing the end of its service life.
- Flashing: Metal flashing seals the joints around chimneys, skylights, and roof valleys. Gaps or rust here are a common source of leaks.
- Gutters and downspouts: Proper drainage protects your foundation and prevents water from backing up under the roof edge.
- Soffits and fascia: The boards running along your roof's edge. Rot or pest damage here can extend inward if not addressed.
- Attic conditions: Moisture staining, mold growth, daylight coming through the decking, or inadequate ventilation are all interior signs that the roof system isn't performing as it should.
When you receive findings, ask the inspector to separate cosmetic observations from functional ones. A finding like surface weathering is different from active moisture intrusion. If repairs are recommended, it's reasonable to ask what happens if each issue is deferred - this helps you understand true urgency. For related context on permits and what regulated inspections involve, see our article on permits, inspections, and codes.
Watch for Inspection-to-Sale Pressure
Some contractors offer free inspections with the expectation of being awarded repair work. This doesn't make their assessment invalid, but it's worth getting a second opinion on any finding that would require significant spending. Objective inspectors should present findings neutrally and leave repair decisions entirely to you.
Get Everything in Writing
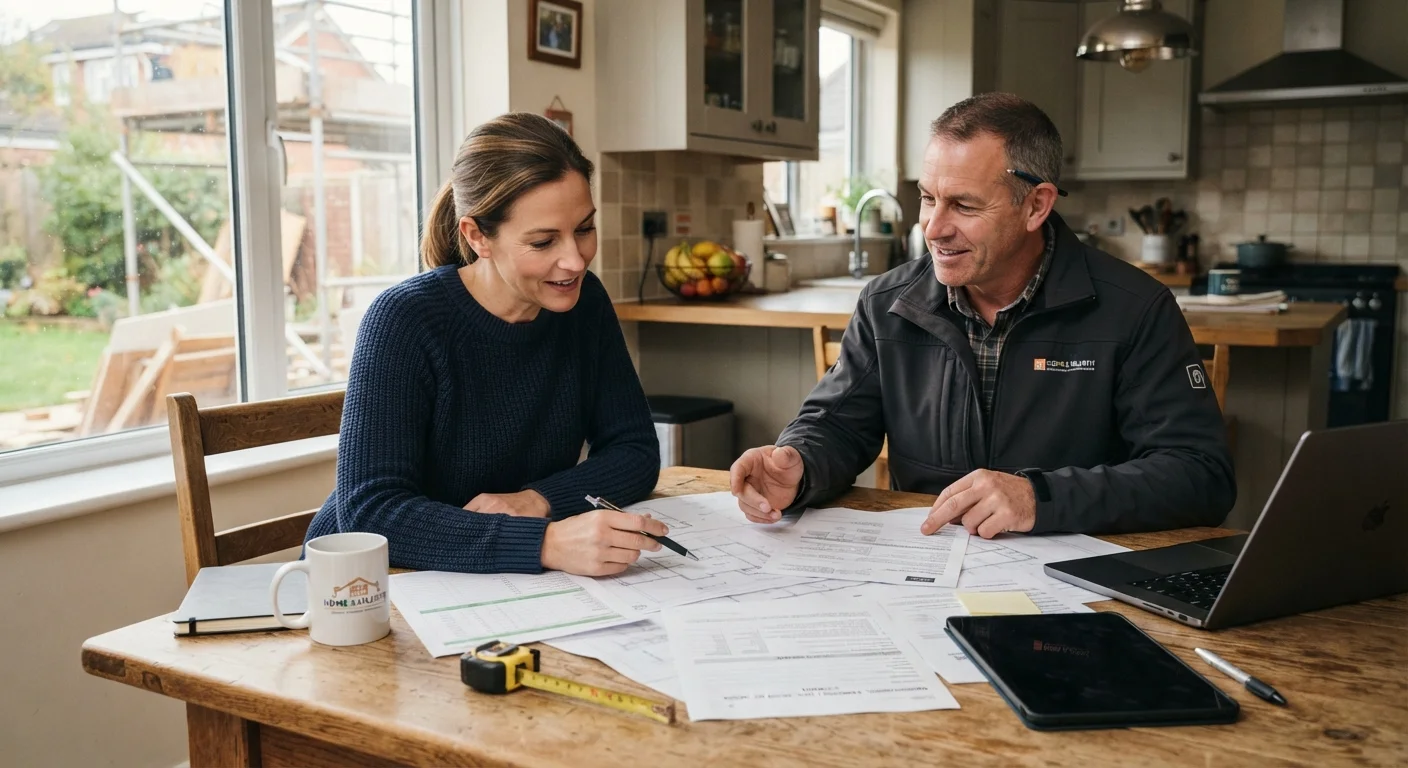
A verbal summary at the end of an inspection is easy to misremember and impossible to compare. Ask before the inspector begins that the final report include photographs, descriptions of each finding, and a condition rating. This documentation also becomes useful if you're selling the home or filing an insurance claim.
Prepare your documentation before the inspector arrives
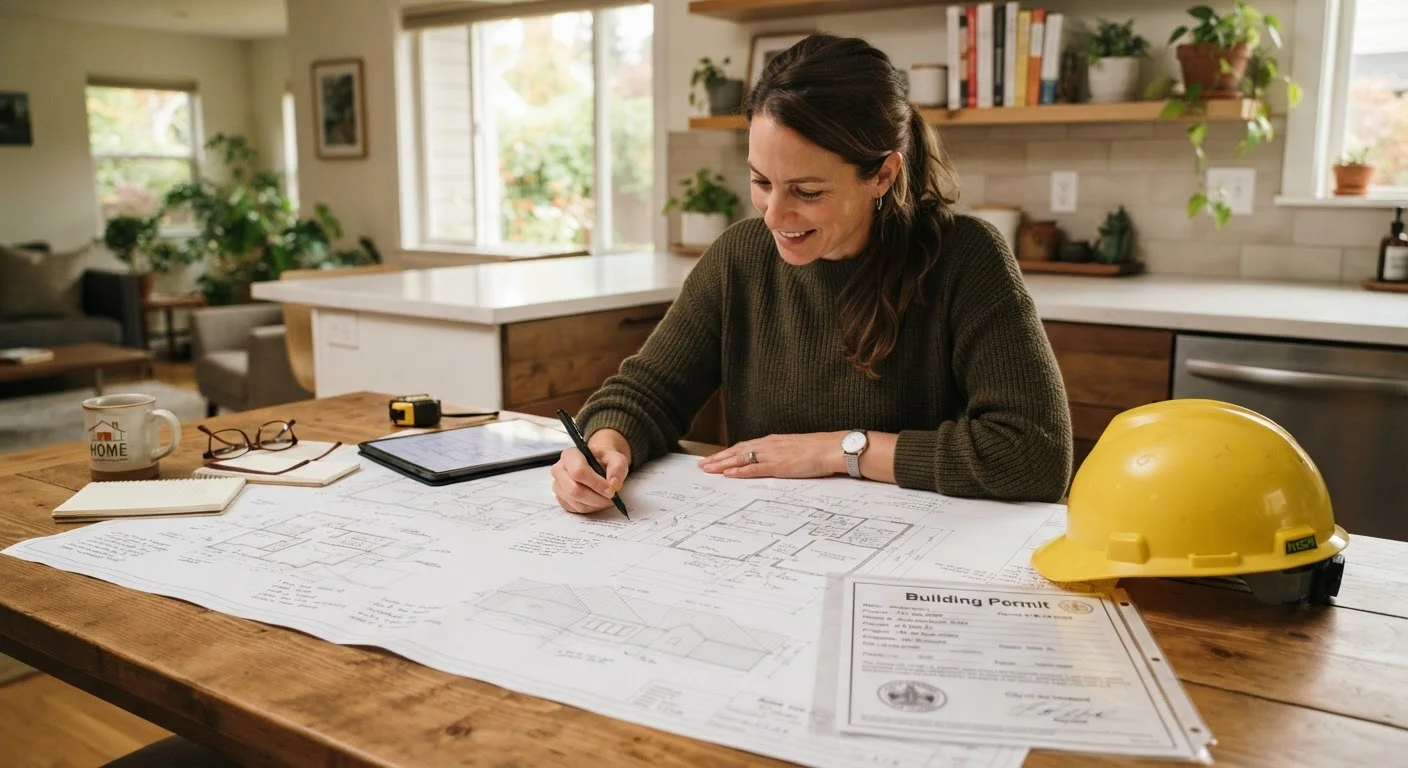
Pull together any records you have: previous inspection reports, receipts for past repairs, and your homeowner's insurance policy. Knowing your roof's age and material helps the inspector calibrate expectations - a 15-year-old asphalt shingle roof is assessed differently than a new metal one. If you've noticed anything specific (a stain on the ceiling, granules in the gutters), write it down so you don't forget to mention it.
Understand what the inspector will examine
A thorough inspection covers both the exterior and interior of the roof system. Exterior checkpoints typically include: shingle condition (cracking, curling, missing granules), flashing around chimneys and vents, gutters and downspouts, soffits and fascia, and any visible signs of sagging. Interior checks - usually from inside the attic - look for moisture staining, daylight penetration, insulation condition, and ventilation adequacy. Not every inspector includes an attic walkthrough by default; confirm this when booking.
Stay present and ask questions during the inspection
You don't need to follow the inspector onto the roof, but staying nearby and engaged is worthwhile. As they come down, ask them to walk you through what they observed. Good questions include: What is the current overall condition?, Which issues are urgent versus ones I can monitor?, and How much useful life do you estimate remains? This kind of dialogue helps you make sense of the written report later.
Request a written report with photographs
Before the inspector leaves, confirm that a written report is coming - ideally within 24 to 48 hours. The report should include photographs of each flagged area, a description of the issue, and an indication of severity. A report without photos is far less useful when you're getting repair estimates or discussing findings with your insurance provider.
Evaluate findings and plan next steps
Once you have the written report, go through each finding and sort them into three buckets: address now, monitor over the next season, and no action needed. Urgent items typically involve active leaks, compromised flashing, or structural sagging. Issues like minor granule loss on a mid-life roof may warrant monitoring rather than immediate replacement. If a significant expense is recommended, consider getting a second assessment from a different contractor before committing.
If significant repairs are flagged and you're considering hiring a contractor to handle them, review common mistakes homeowners make when hiring contractors before signing anything. And if you're unsure whether a repair is something you could handle yourself, our guide on when to DIY versus call a professional offers a practical framework.
Do Not Walk Your Roof Yourself
Inspecting your own roof from the rooftop carries real fall risk and can crack brittle shingles, especially on older or steep-pitch roofs. Leave physical access to licensed professionals equipped with proper safety gear. From the ground, you can safely observe obvious issues with binoculars - that is the extent of safe DIY observation.